
The Editor
In the previous section we learned how to use the rootItem and its related methods to create and remove the content of an OmniOutliner outline.
In this section we will discuss and demonstrate how to use document editors to control and alter the display of the outline document.
An instance of the Editor class is invisible controller used by scripts to manipulate the document interface, thereby effecting the display of its contents.
Since in some instances, a document may have multiple views, there may be multiple editors involved. Therefore, editors are referenced in an array of editors, with editor[0] being the current active editor. We will use editor[0] in our scripts when they are targeting the display of content.
Expand | Collapse
Since outlines by their nature are hierarchical and may be very long, it is often beneficial to optimize the use of screen space by controlling whether or not to show children of the main topics. The Editor class has two methods expand() and collapse() for controlling the expanded display of outline items. But before we examine their use, we need to understand nodes.
A node is a representative of an outline item. Every outline item has a corresponding node. Editors edit nodes, and so you will find it necessary in your scripts to identify the node of an item when the task you wish to perform is not content-related. The following two scripts demonstrate this technique.
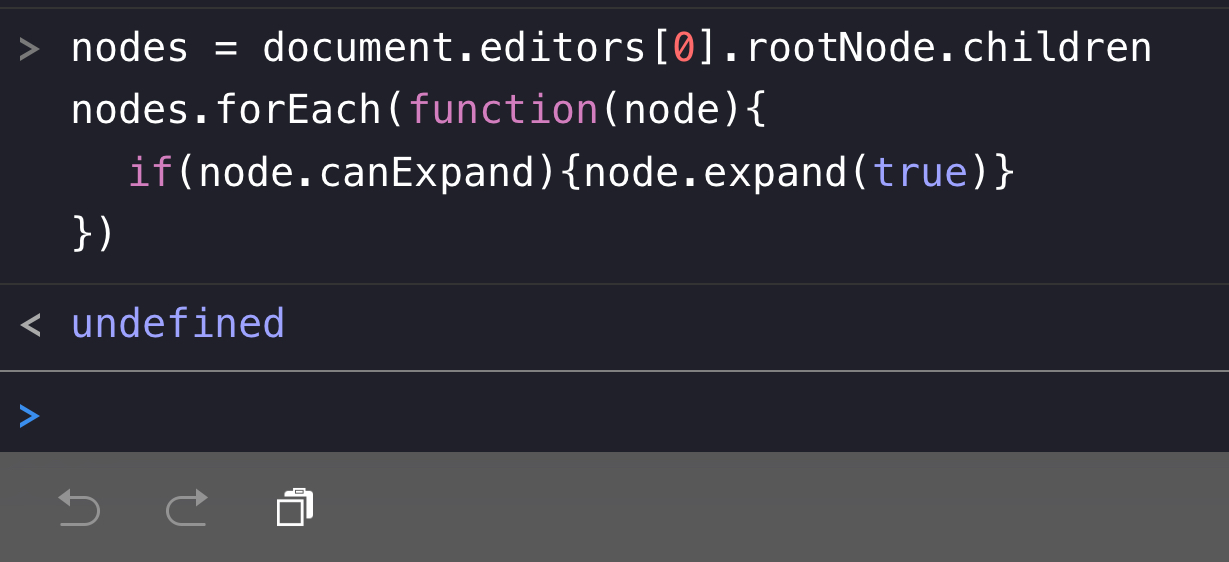
The first script will completely expand the entire outline to show all items, even the descendents of top-level items.
| Expand Outline | ||
| 01 | nodes = document.editors[0].rootNode.children | |
| 02 | nodes.forEach(function(node){ | |
| 03 | if(node.canExpand){node.expand(true)} | |
| 04 | }) | |
1 Generate an array of references to the children of the rootNode and store it in a variable (nodes). The rootNode is an Editor’s equivalent of the rootItem object of the Item class.
2-4 Use the forEach() method to iterate each of the top-level children of the rootNode, processing one of the children (node) with each loop.
3 Use the value of the canExpand property of the node to determine if the node can be expanded. The result is a boolean (true or false). If the result is true, then use the expand() method with the optional fully-expand boolean parameter to expand the child and all of its children. If you do not wish to fully expand the item, then leave the parameter blank (nil) or use false as the parameter value.
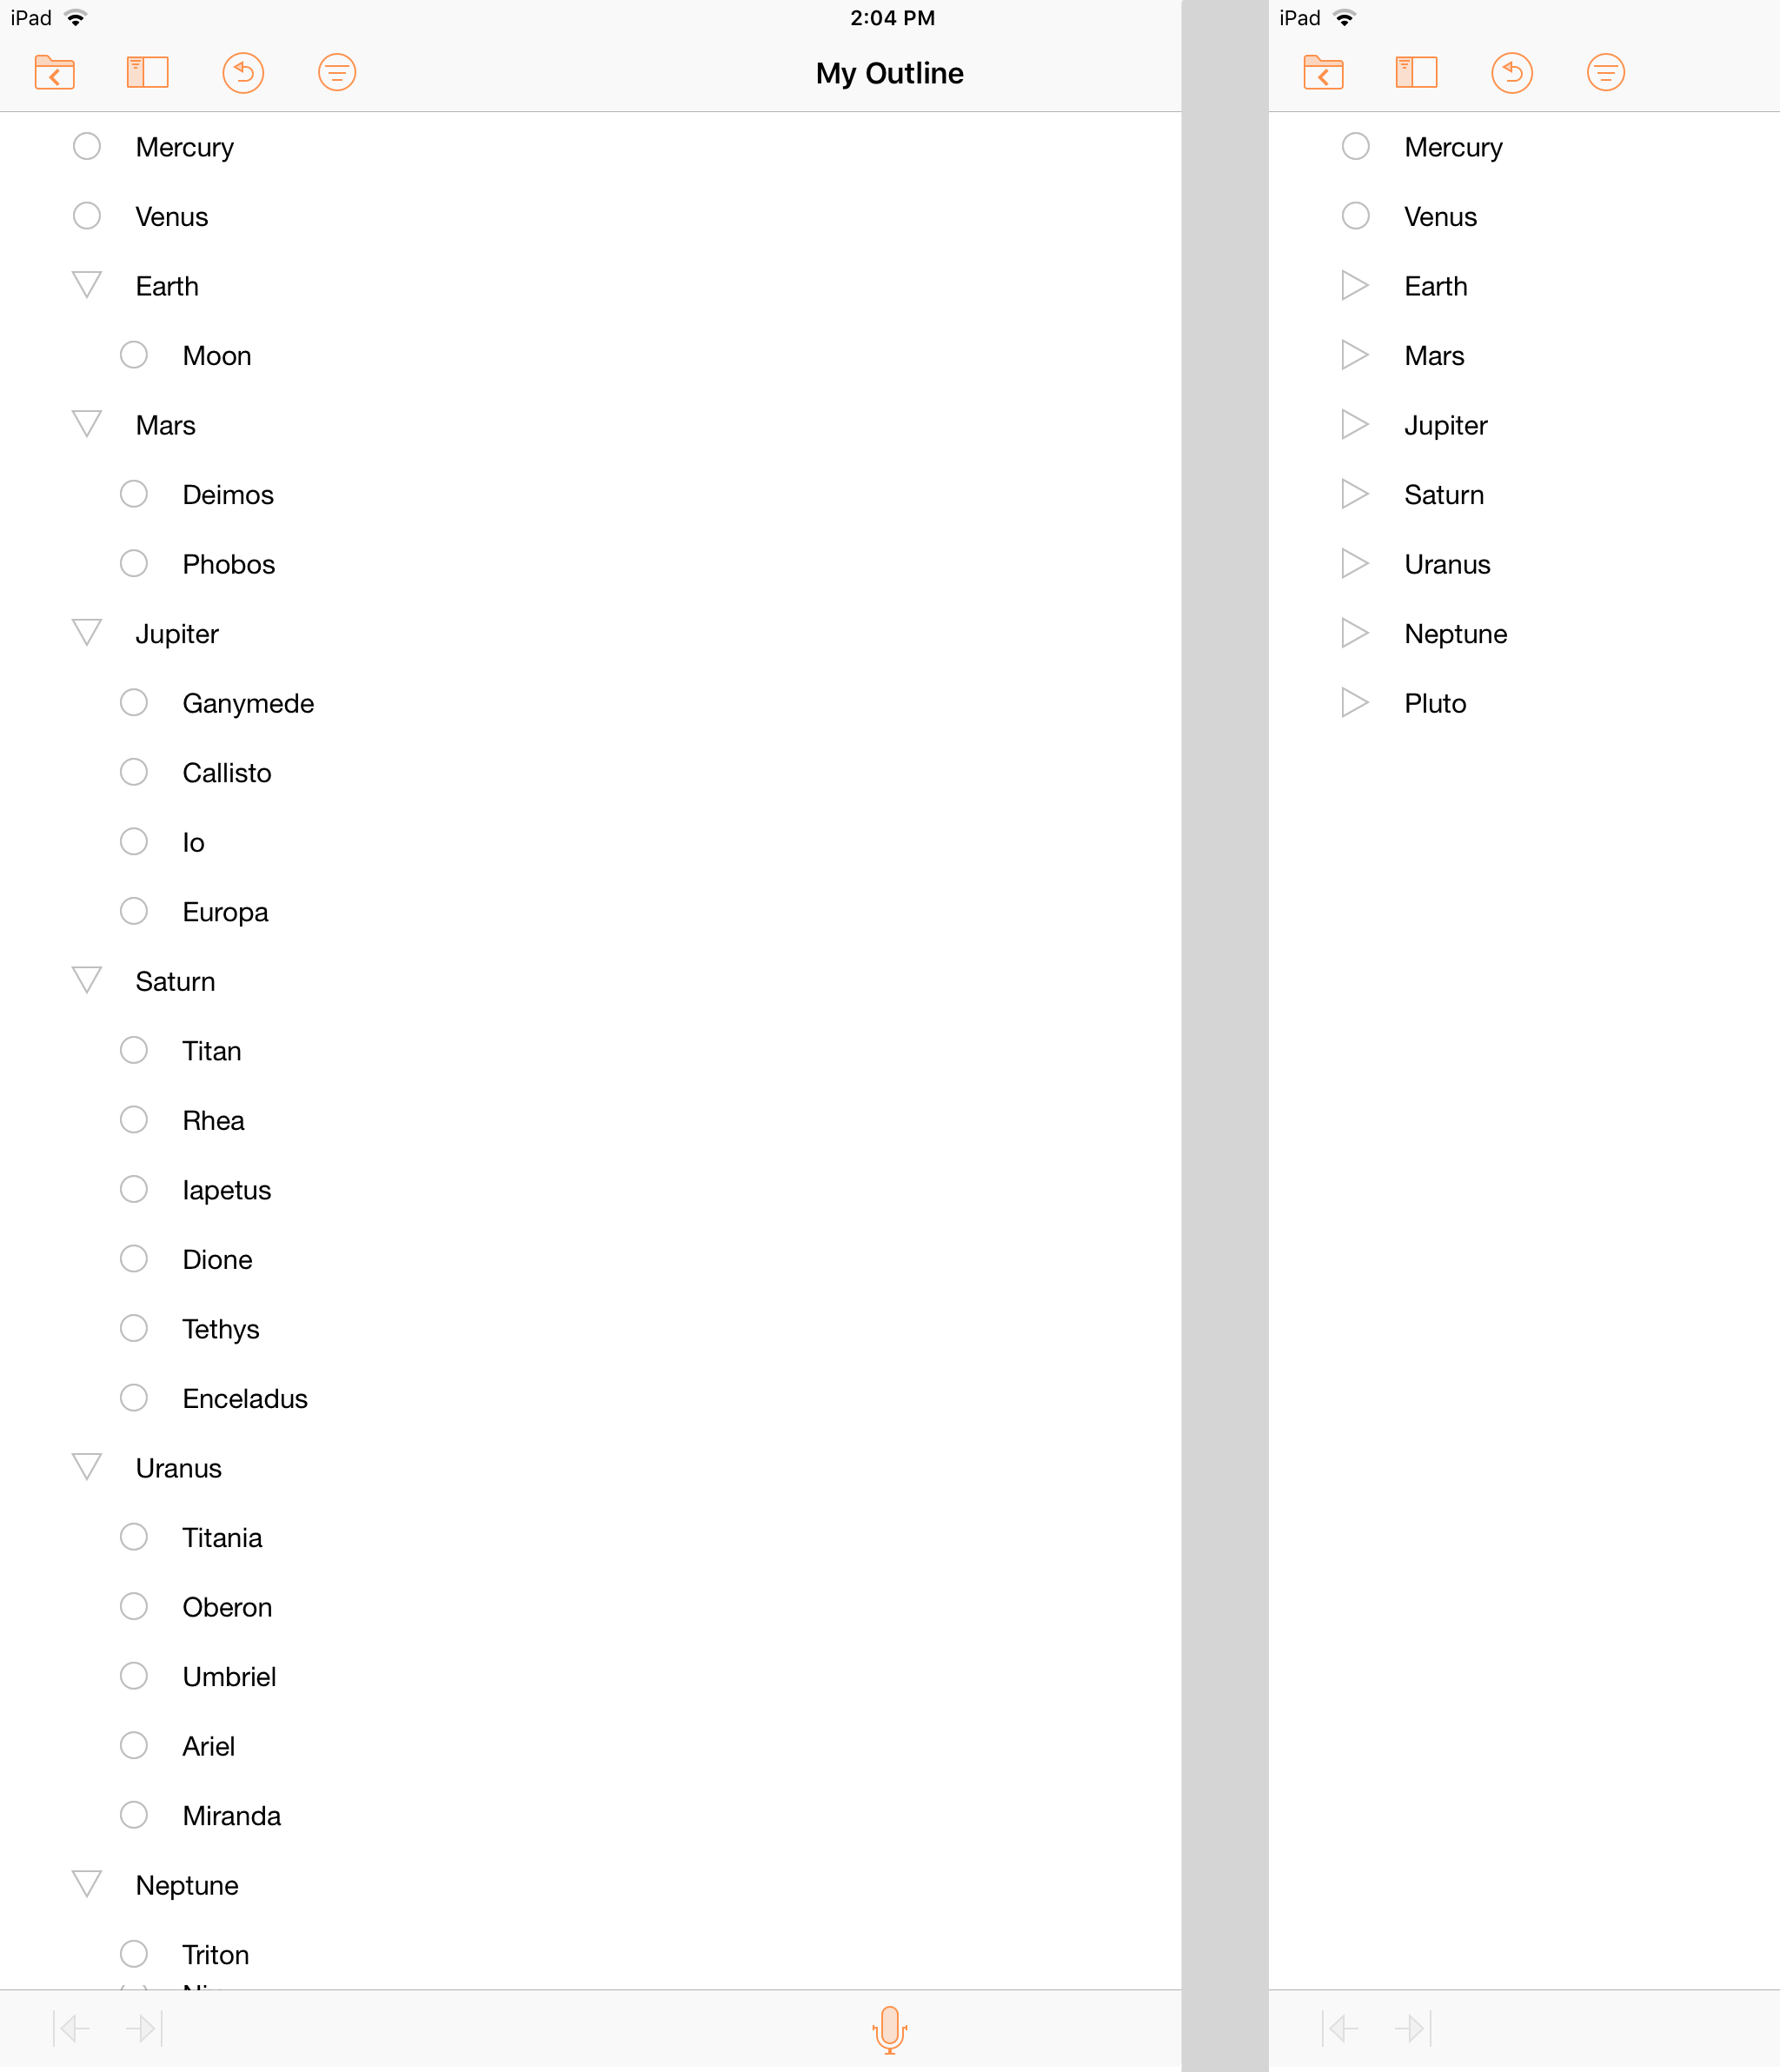
Now let’s apply this code to our open planet outline.
| DO THIS ► | Copy and paste the previous script into the console window, and execute it by pressing the Return key. |
The outline items will be completely expanded in the document window (see illustration below left).
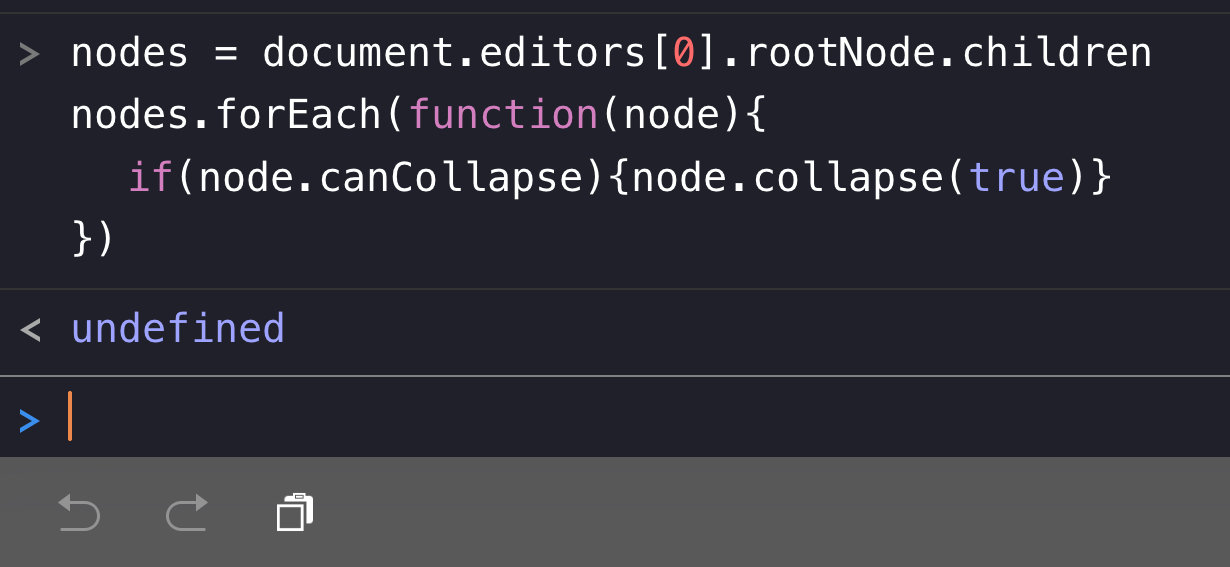
To completely collapse the outline, we’ll use the same script except the canExpand() and expand() instance methods will be replaced with the canCollapse() and collapse() methods.
| Collapse Outline | ||
| 01 | nodes = document.editors[0].rootNode.children | |
| 02 | nodes.forEach(function(node){ | |
| 03 | if(node.canCollapse){node.collapse(true)} | |
| 04 | }) | |
| DO THIS ► | Copy and paste the previous script into the console window, and execute it by pressing the Return key. |
All outline items will appear collapsed in the document window (see illustration below right).
What’s Next?
So you’ve learned how to invoke an instance of the Editor class to manipulate the display of the outline. In the next section, we’ll examine how to activate and use the outline’s built-in status column.
This webpage is in the process of being developed. Any content may change and may not be accurate or complete at this time.
DISCLAIMER