Plug-Ins: “Linked” Folders
A powerful feature of Omni Automation is in its abilty to expand the functionality of the Omni applications through the installation of user-created plug-ins.
Omni Automation bundle plug-ins and solitary action files are designed to be easily installed, providing quick consistent access through each Omni application’s built-in Automation menu.
The following documentation details how to add Omni Automation Plug-Ins to your applications on macOS. Detailed information is also available for:
New Plug-In Management Tools
The latest suite of Omni applications include a new plug-in management architecture that enables users to designate both local and remote directories as sources for Omni Automation plug-ins.
The controls for managing the use Omni Automation plug-ins are accessed via the “Plug-Ins…” menu option displayed at the end of the Automation menu in the host Omni application.
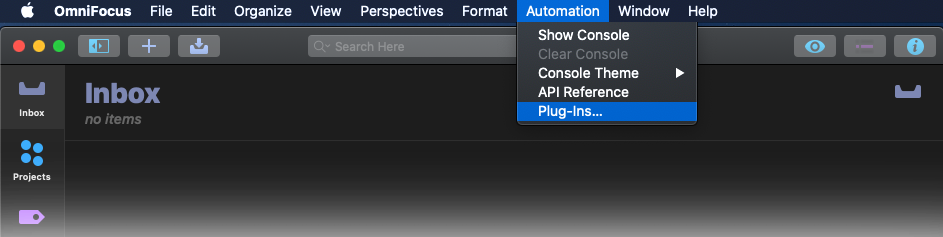
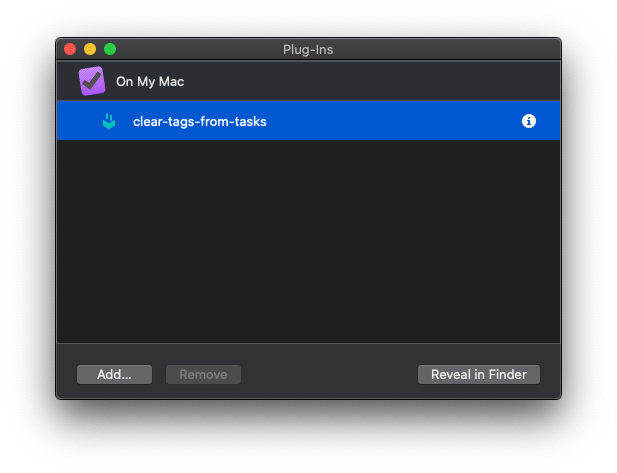
Selecting the “Plug-Ins…” menu option from the Automation menu will summon the Plug-Ins Preferences dialog. This pane lists the source directories for all installed plug-ins, as well as detailed information about selected plug-in instances.
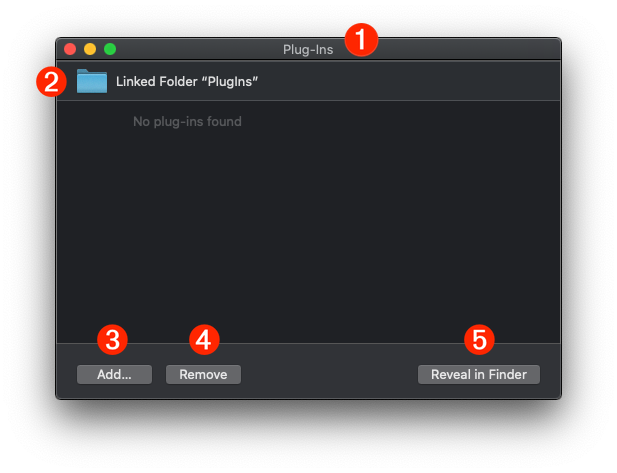
1 The macOS Omni application Plug-Ins Preferences window.
2 By default, the preferences pane will list the local plug-ins folder contained in the Application Support directory of the host application.
3 The “Add…” button for adding another plug-in source directory to the list of plug-in sources.
4 The “Remove…” button for removing the selected plug-in source directory from the list of plug-in sources. Note that the default source directory in the Application Support folder cannot be removed from the list.
5 Activating the “Reveal in Finder” button will cause the Omni application’s Application Support folder to be opened in the Finder, with the default plug-ins folder selected. (see image below)
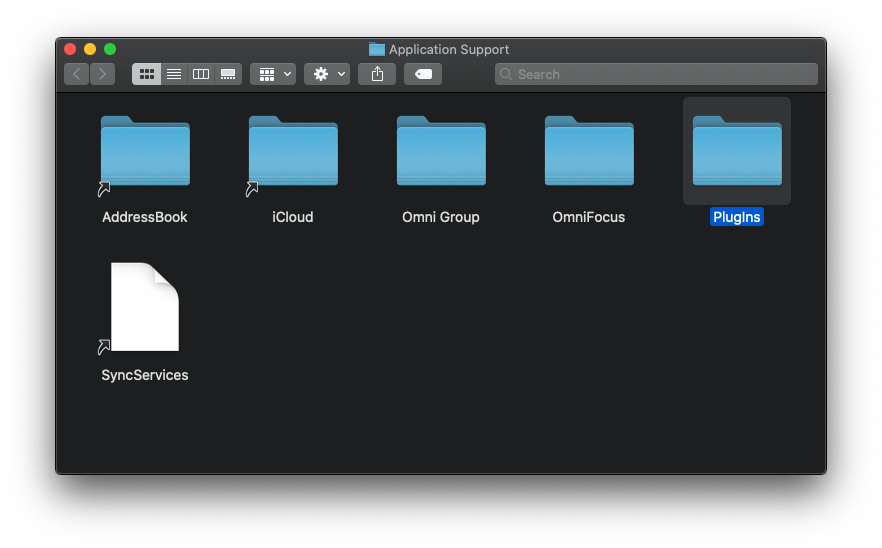
Plug-In bundles and solitary action plug-in files placed within an application’s default plug-ins folder in an Omni application’s Application Support folder will be available within the host application, for the individual user on the macOS computer. Installed plug-ins will accessed from the Omni application’s Automation menu… (see image below)
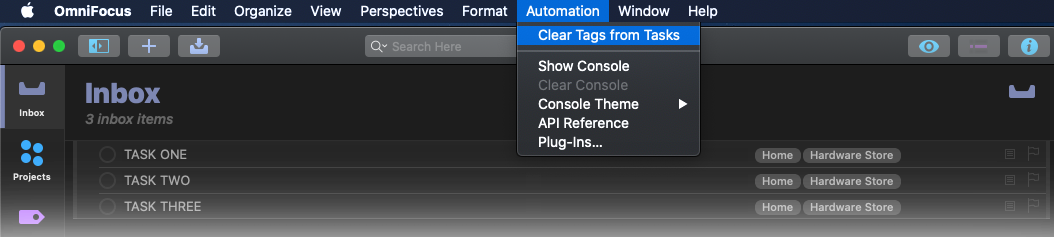
and will be listed in the Plug-In Preferences window:
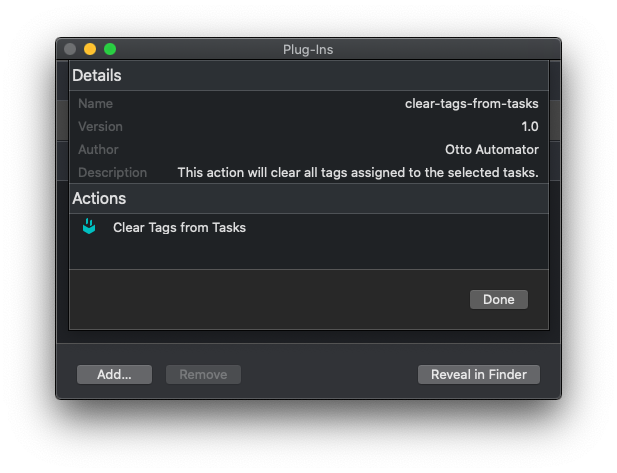
Clicking the information icon at the right of the selected action’s list entry will reveal a sheet displaying the action’s metadata, including: developer name, plug-in identifier string, description, and version number.
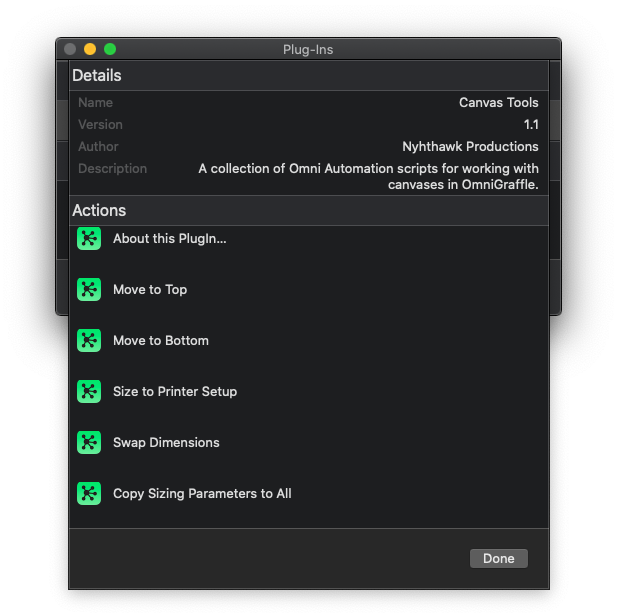
Plug-In bundles that contain multiple actions, will display metadata as well as a list of the bundle’s actions:
Plug-In Management Strategies
There are two methods for installing and managing Omni Automation plug-ins for a specific user:
On a per-application basis, with plug-ins for each application stored locally in each application’s individual default plug-ins folder. That means that if you have four Omni applications installed on your computer, the plug-ins for the applications would be contained in four support directories. Or…
In one or more user-created directories containing the plug-ins for all of the installed Omni applications. You can then adjust the plug-in preferences in the installed Omni applications to designate these folders as sources for Omni Automation plug-ins.
For the sake of simplicity and ease of access, placing your plug-ins in a central easily accessible folder, and linking to that folder from the Omni applications, is a good strategy to follow, and is flexible enough to work for a variety of user scenarios.
Use of a folder containing multiple plug-ins for multiple applications is possible because the JavaScript code for all Omni Automation plug-in files begin with an object containing the metadata keys and values that identify which Omni applications the plug-in is intended to be used with.
For example, in the action metadata object below, line 3 includes the key “targets” whose corresponding value is a list of the names of one or more Omni applications in which the plug-in can be used.
SIngle-File Plug-In Metadata
/*{"type": "action","targets": ["omnigraffle", "omnioutliner", "omnifocus", "omniplan"],"author": "Otto Automator","identifier": "com.omni-automation.all.modifier-key-sensor","version": "1.0","description": "This action will display an alert showing which modifier keys are pressed when the action is triggered.","label": "Modifier Key Sensor","shortLabel": "Modifier Key Sensor"}*/
If an Omni application is not listed as a target, it will not load or display the plug-in. This means that multiple action files, targeting the same or different applications, can be placed in the same directory, accessed by all of the installed Omni applications without any possibility of interfering with non-targeted applications.
Installing Plug-Ins on a macOS Computer
On a macOS computer, you can install Omni Automation plug-ins so that they are available:
The following documentation provides instructions on how to setup and use each of the three scenarios
A Shared Plug-Ins Folder for the Current User
Let’s examine how to set up and implement a plug-ins folder shared by all installed Omni applications.
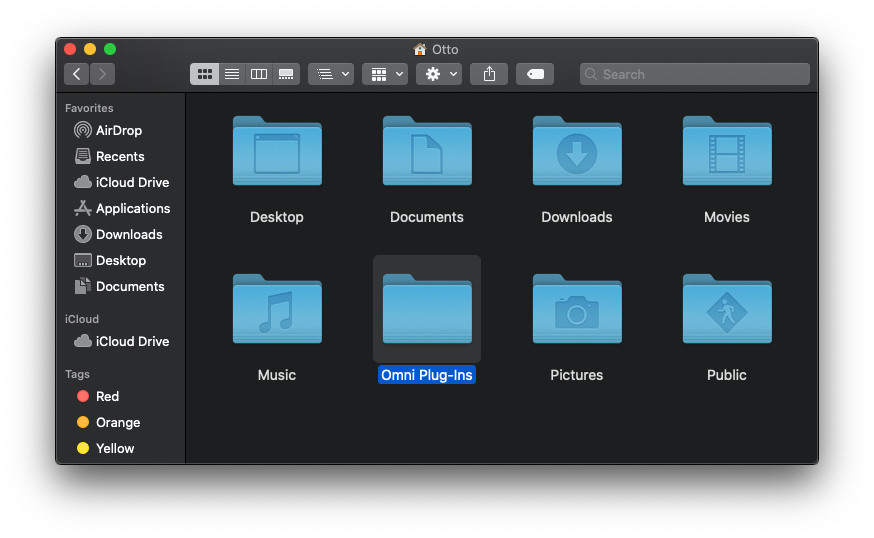
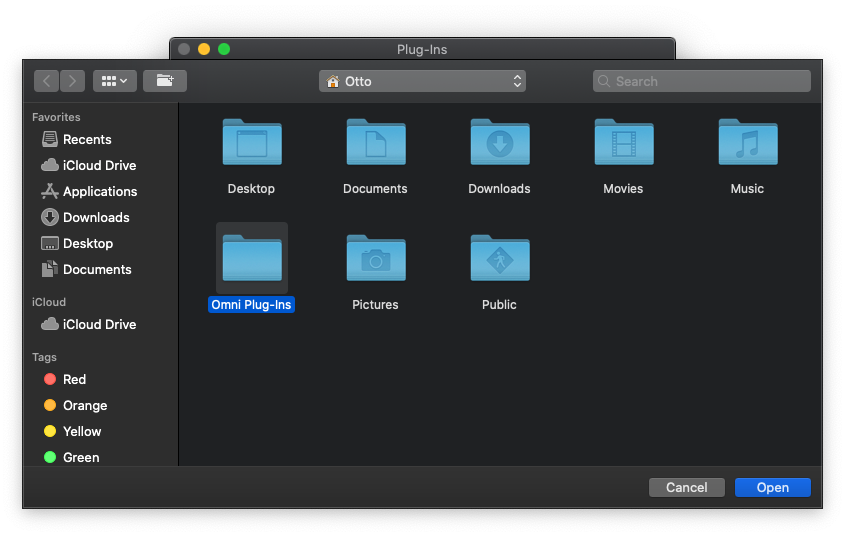
| DO THIS ► | To implement a single-user shared actions folder, create a folder within the current user space, like in the illustration below where the folder “Omni Plug-Ins” has been created within the current user’s Home directory: |
| DO THIS ► | Place your Omni Automation actions (for all of the installed Omni applications) within the created folder. |
The next step will be to “link” to the created folder from within each of the installed Omni applications.
| DO THIS ► | Within the Omni application, select “Plug-Ins…” from the Automation menu to summon the Plug-Ins Preferences window. Click the “Add” button, then navigate to and select the created plug-ins source directory: |
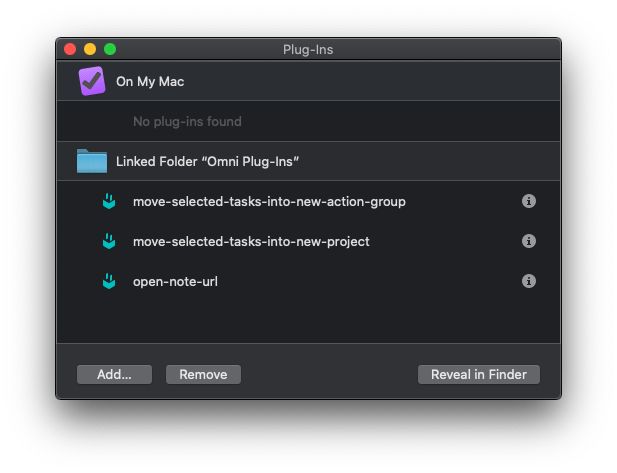
Once you have chosen the directory by pressing the “Open” button, the directory and its actions for the Omni application will be listed in the window, and appear as menu items on the host application’s Automation menu.
Installing Plug-Ins for All Users
If the host computer has implemented multiple users, plug-ins can be shared by all users by creating a plug-in source directory in the Shared folder in the Users folder, and designating the shared folder as the source for the Omni application’s plug-ins.
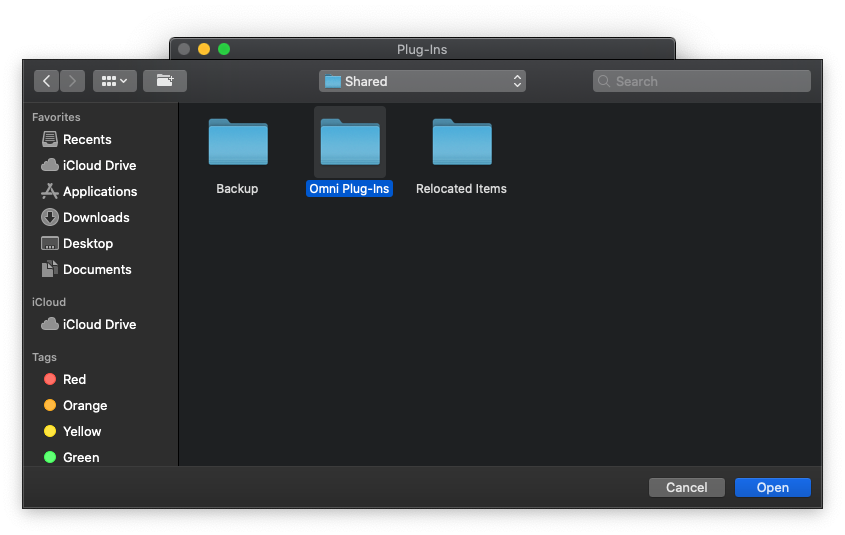
| DO THIS ► | Activate the “Add…” button in the Plug-In Preferences dialog, and select the created plug-in source in the computer’s Shared items folder: |
Once selected, the plug-in source directory and its contents will be displayed in the Plug-In Preferences pane:
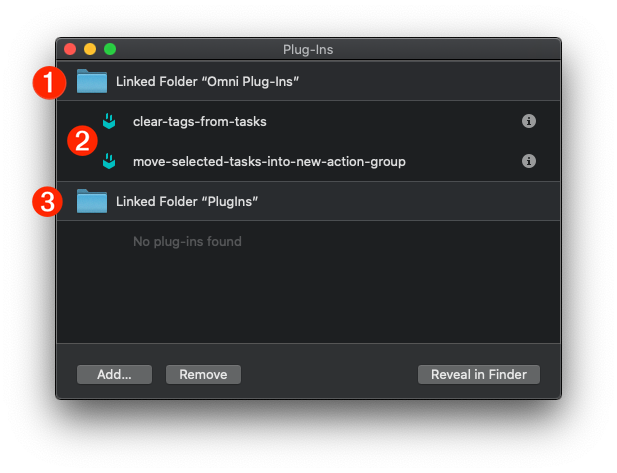
1 The linked plug-in source folder in the Shared Items folder.
2 The plug-in actions in linked plug-in source folder that target the host Omni application.
3 The default plug-in source folder in the Application Support folder for the host Omni application.
Installing Plug-Ins on an Internet Storage Service
To enable plug-ins to be easily available on multiple devices, a plug-in source directory can be implemented on a shared server, such as iCloud Drive.
Other computers, iPhones, and iPads that have access to the shared server account can then choose the served plug-ins folder as a source for Omni Automation plug-in bundles and single-file actions.
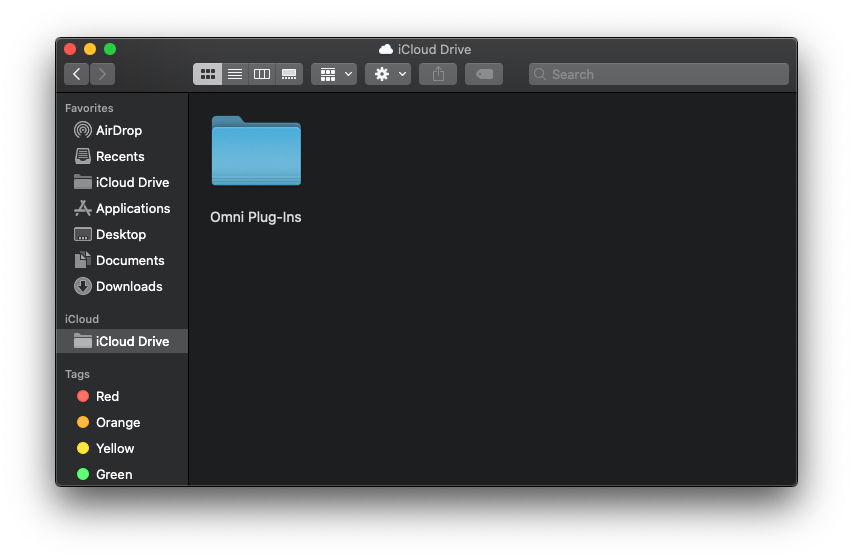
| DO THIS ► | Create a directory on the mounted internet server volume, like this folder on an iCloud Drive: |
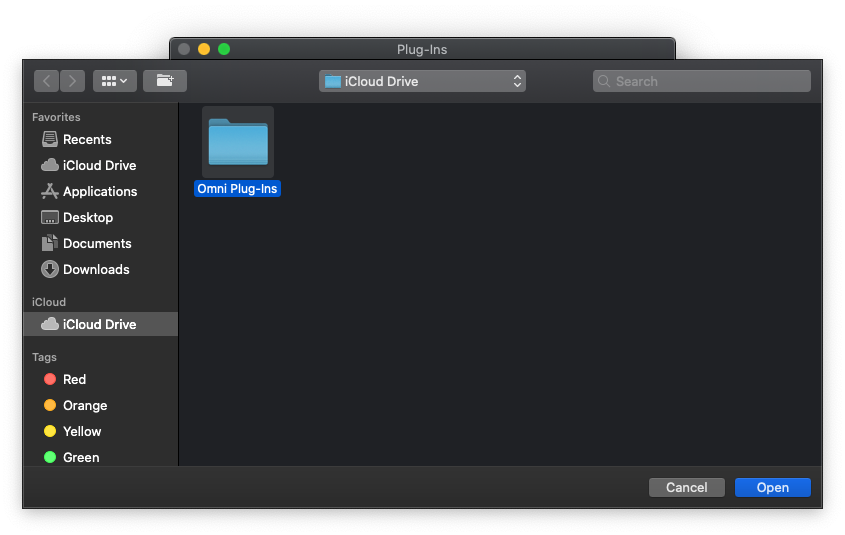
| DO THIS ► | Next, activate the “Add…” button in the Plug-In Preferences dialog, and select the created plug-in source directory in the iCloud Drive: |
The new plug-in source will be added to the source list in the Plug-In Preferences dialog.
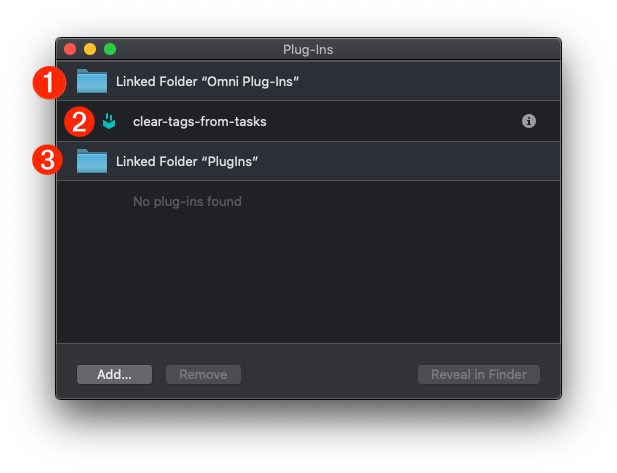
ag The linked plug-in source folder on the iCloud Drive service.
2 The plug-in actions in linked plug-in source folder that target the host Omni application.
3 The default plug-in source folder in the Application Support folder for the host Omni application.