Level Styles
As previously mentioned, there are three categories of styles: Whole Document (base style), Level Styles, and Named Styles. In this section, we’ll examine how to change the look of a row based upon its level, or position in the document outline.
The levelStyles Property
The value of the levelStyles property of the Outline class is an array of the styles used by default for Items at different nesting levels in the document. The length of this array will be the larger of the currently defined number of level styles or the maximum nesting level of Items in the Outline.
Level Styles
document.outline.levelStyles.length
| DO THIS ► | Enter and run the example script in the Console window. |

Because our outline currently has two levels of data (planets and moons), the result of the script execution will be the integer: 2
NOTE: Since no level styles have yet been defined, the style attributes of the base style (baseStyle) are in effect.
Reveal the document sidebar by pressing the Sidebar button in the toolbar. Press the Styles tab, and all of the document styles, including the two level styles, will be listed.
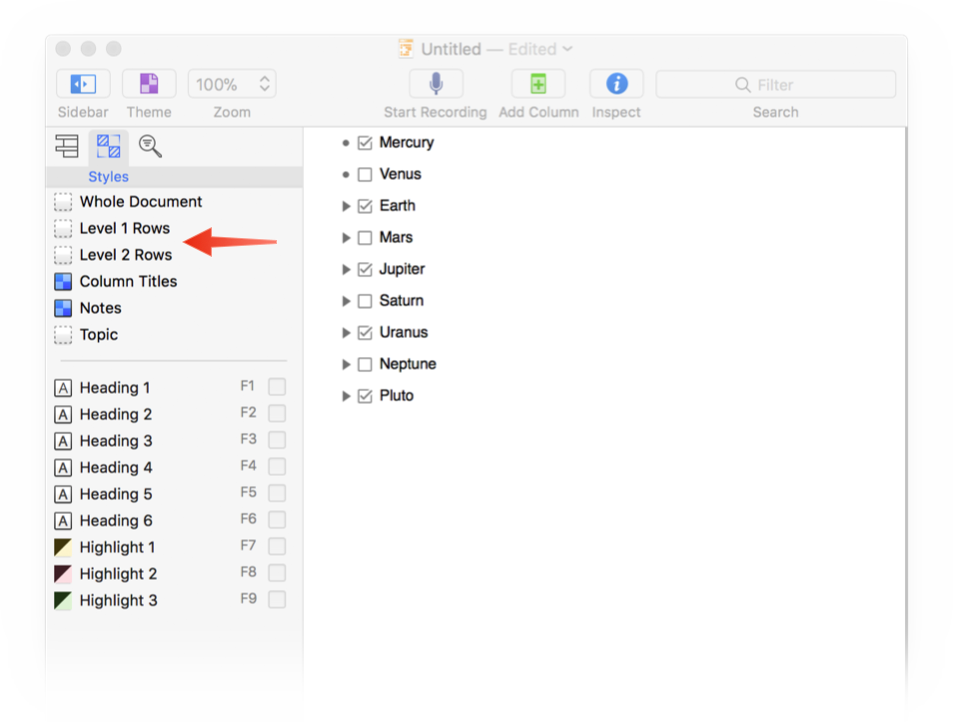
Editing a Level Style
To edit a level style, use the levelStyle(…) method which returns a reference to the level style for the specified nesting level, possibly extending the levelStyles array.
Let’s use this method to change some of the style attributes of the top-level level style. Note that since JavaScript indexes arrays beginning with zero (0), the first level style will be: levelStyle(0)
Edit 1st-Level Style
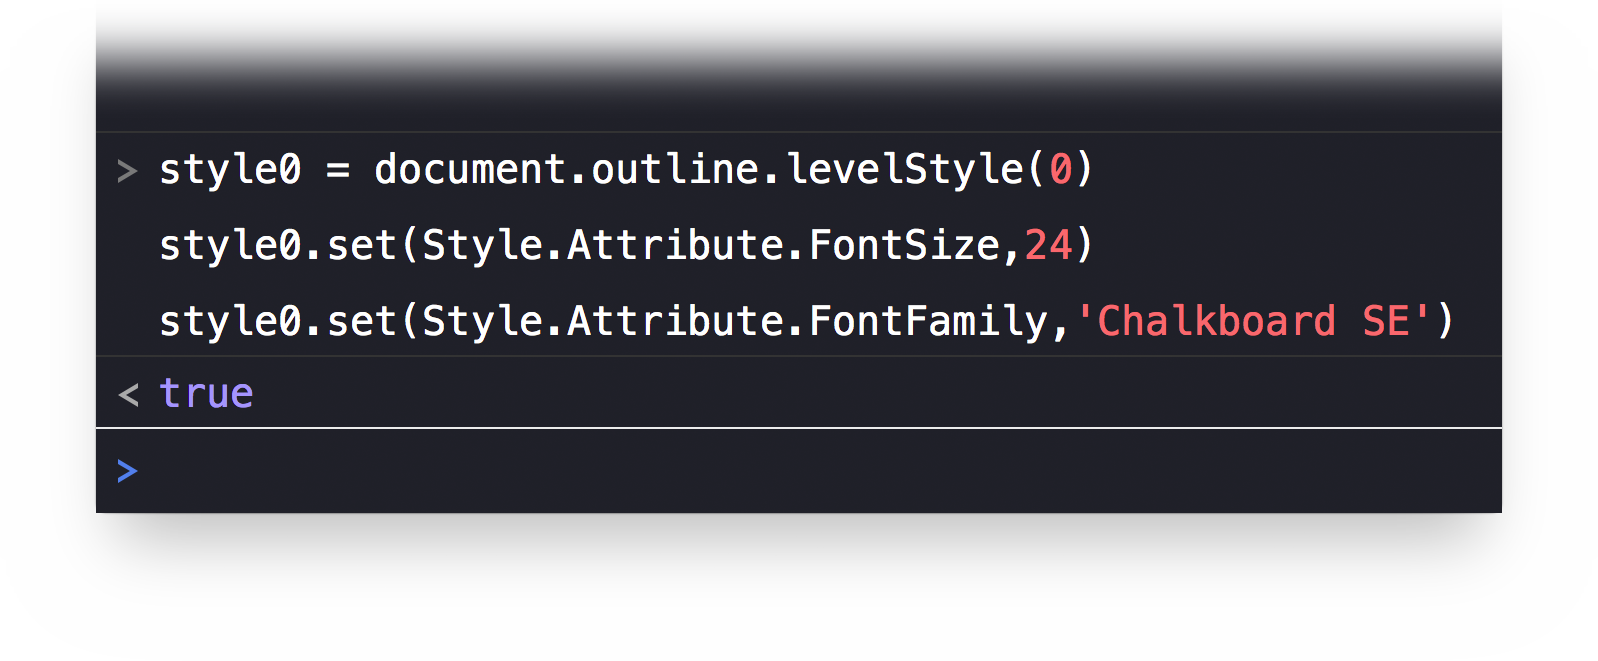
style0 = document.outline.levelStyle(0)style0.set(Style.Attribute.FontSize,24)style0.set(Style.Attribute.FontFamily,'Chalkboard SE')
| DO THIS ► | Enter and run the example script in the Console window. |
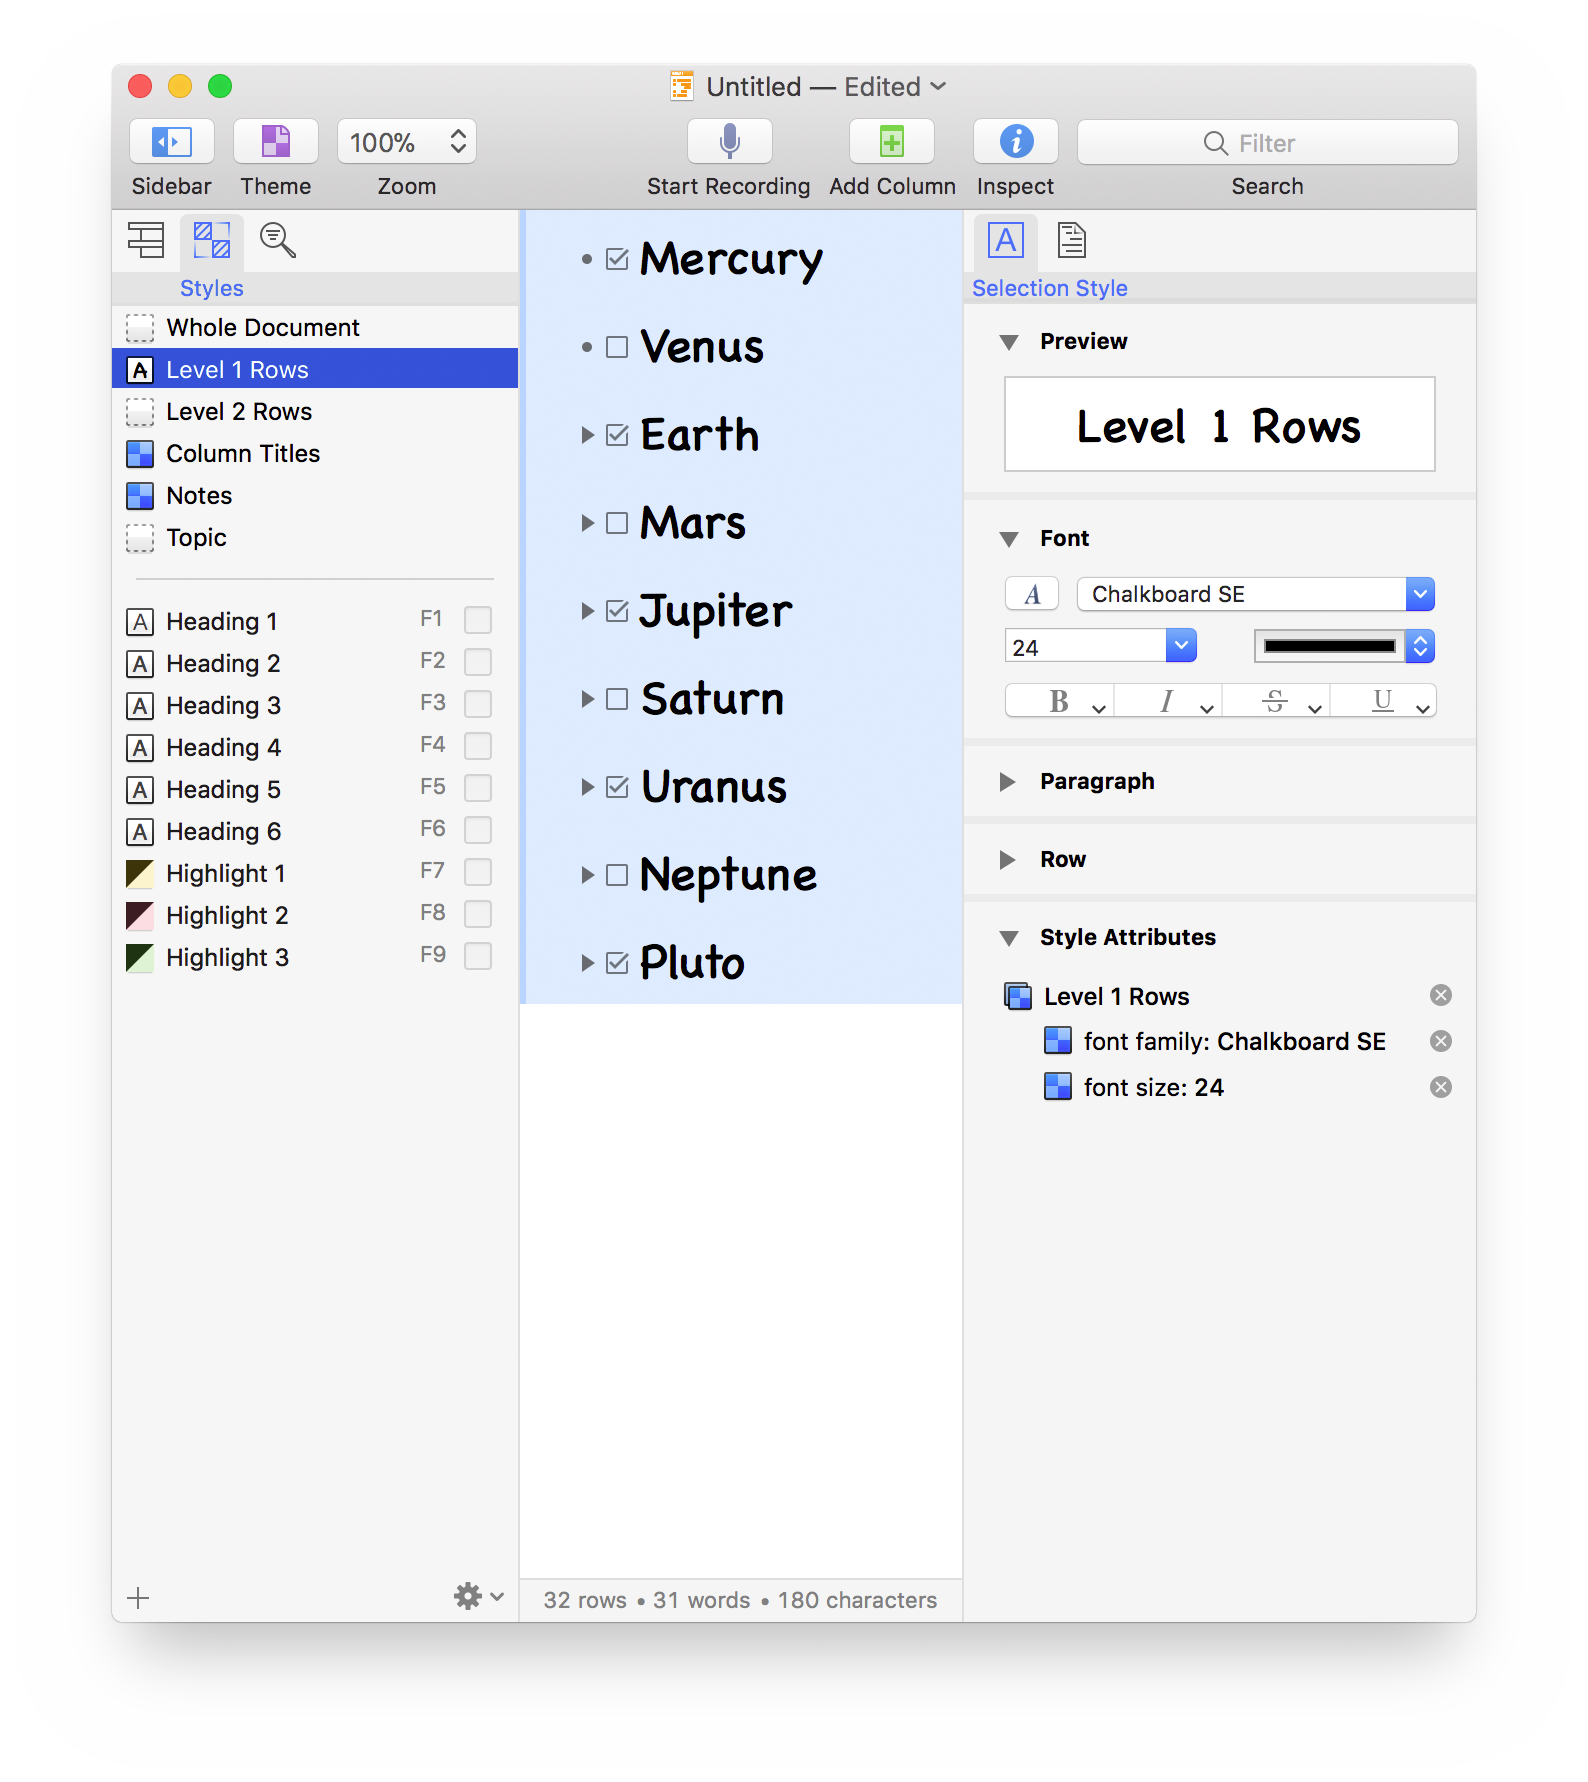
The indicated styling will be applied to the top-level rows. Reveal the sidebar and inspector panels, and select the Level 1 style to see the applied results:
As we just did, let’s use the levelStyle() method to change some of the style attributes of the second-level level style. Note that since JavaScript indexes arrays beginning with zero (0), the second level style will be: levelStyle(1)
Edit 2nd-Level Style
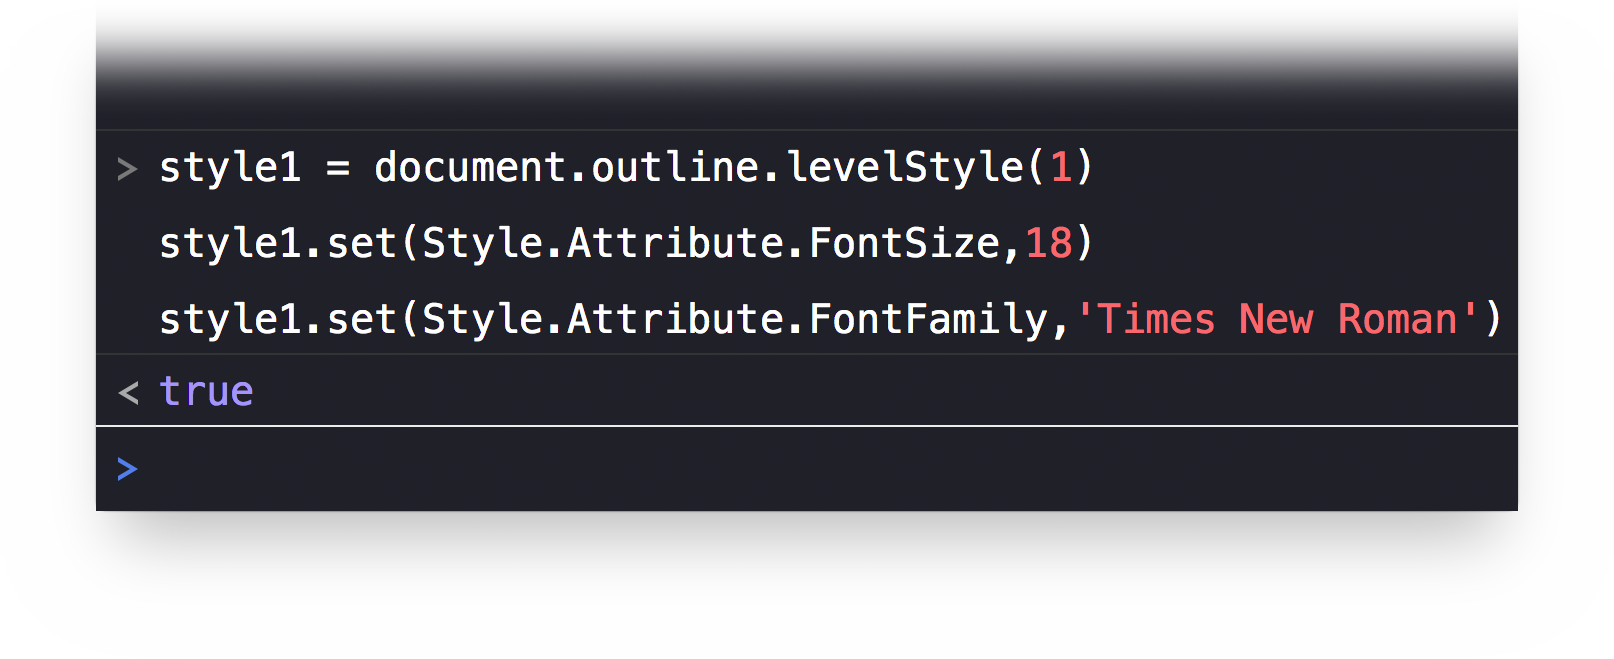
style1 = document.outline.levelStyle(1)style1.set(Style.Attribute.FontSize,18)style1.set(Style.Attribute.FontFamily,'Times New Roman')
| DO THIS ► | Enter and run the example script in the Console window. |
The indicated styling will be applied to the second-level rows.
| DO THIS ► | To view the results, execute the following script to expand all rows. |
Expand Outline
nodes = document.editors[0].rootNode.childrennodes.forEach(function(node){if(node.canExpand){node.expand(true)}})
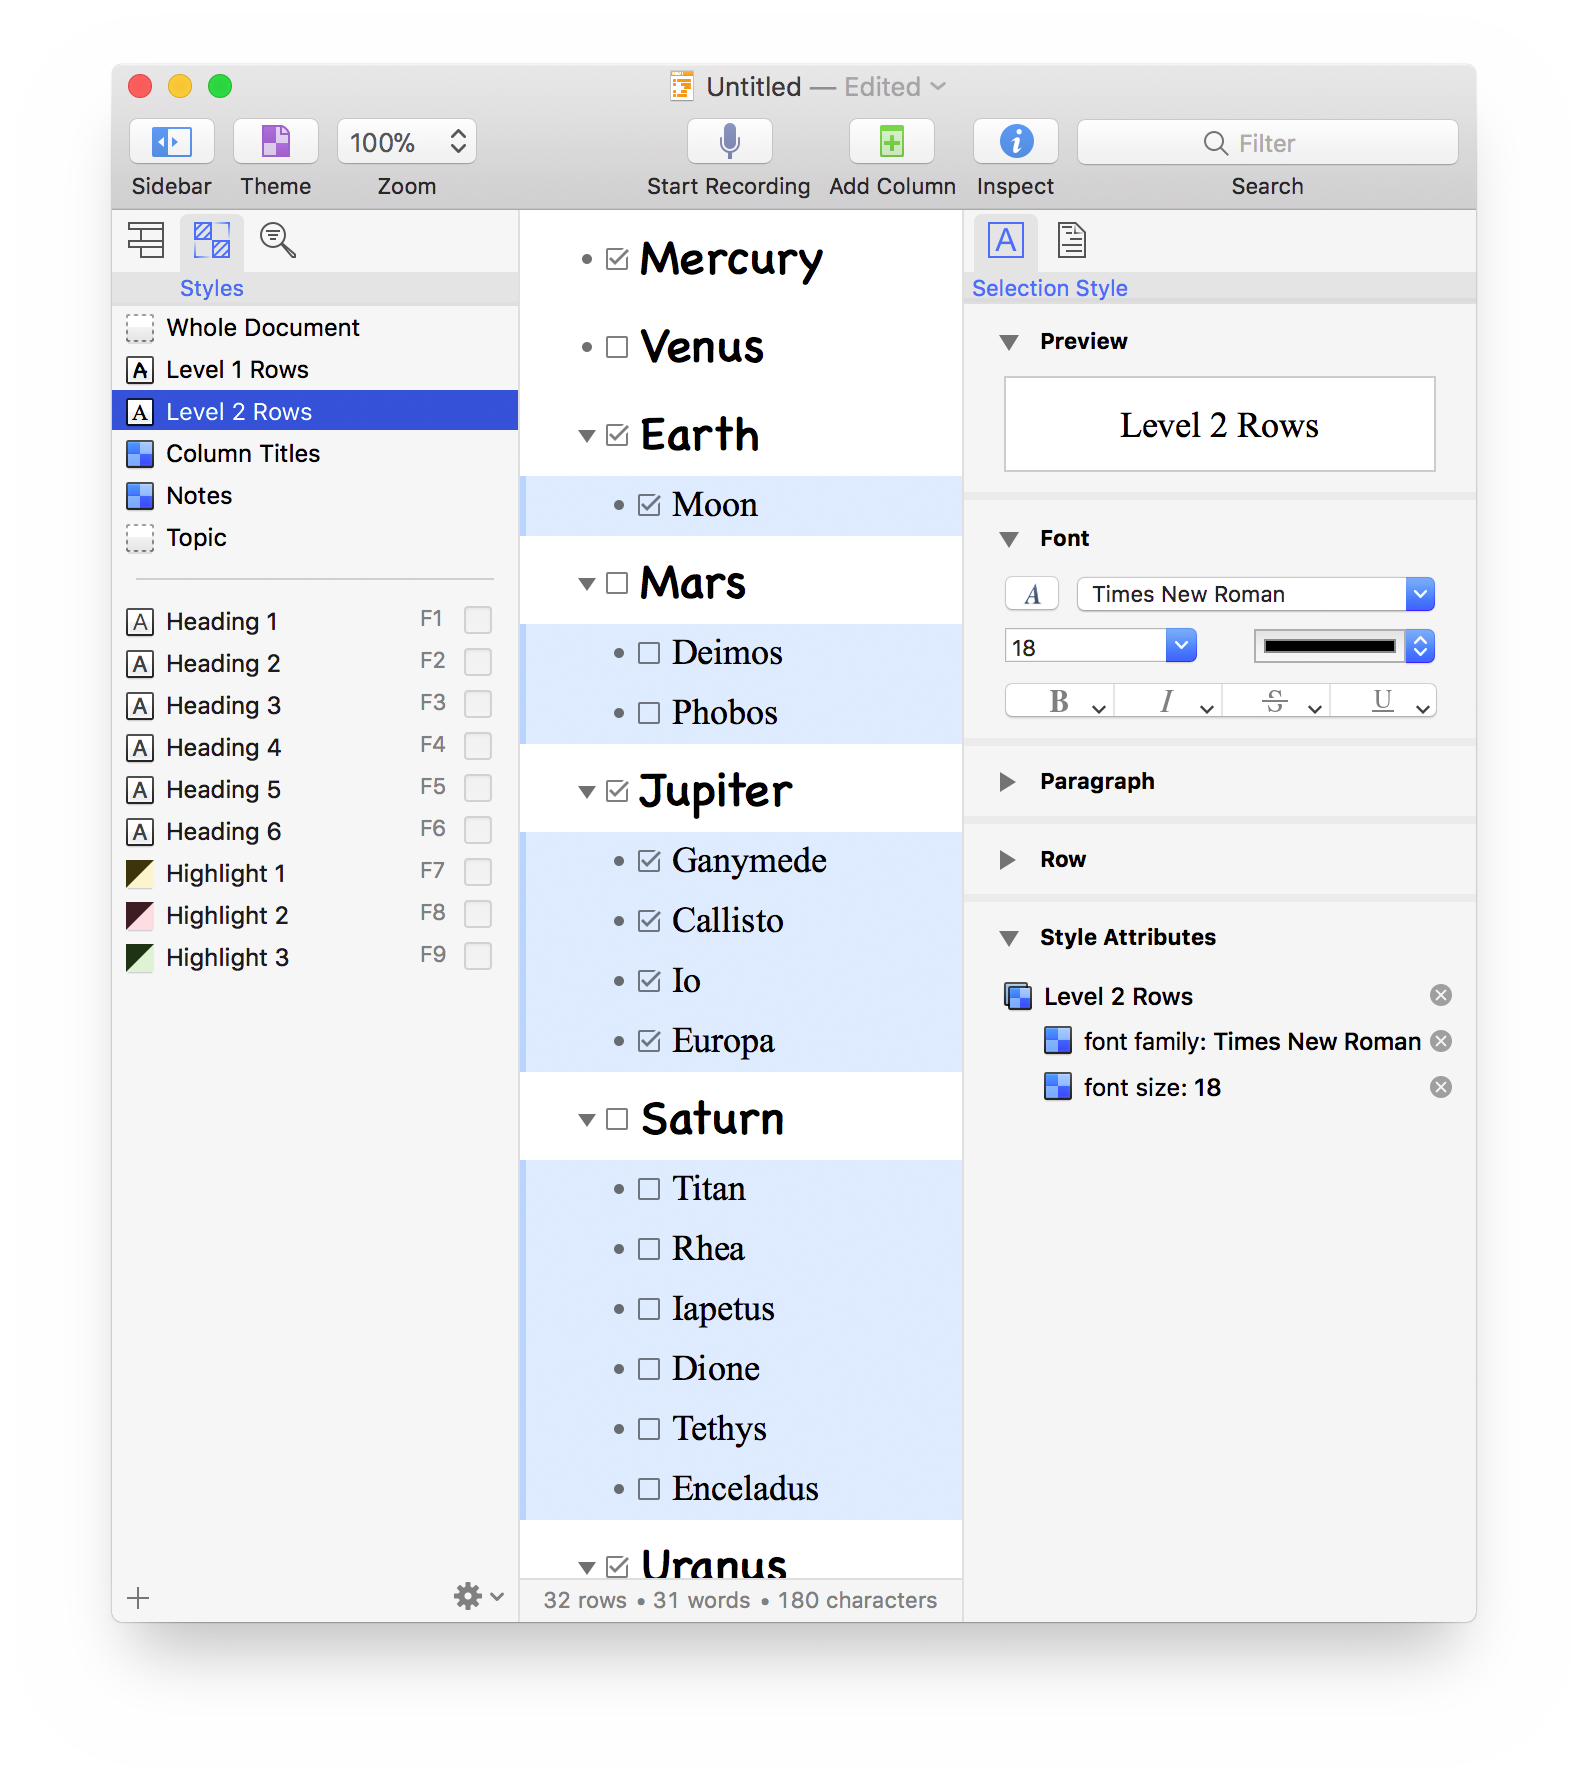
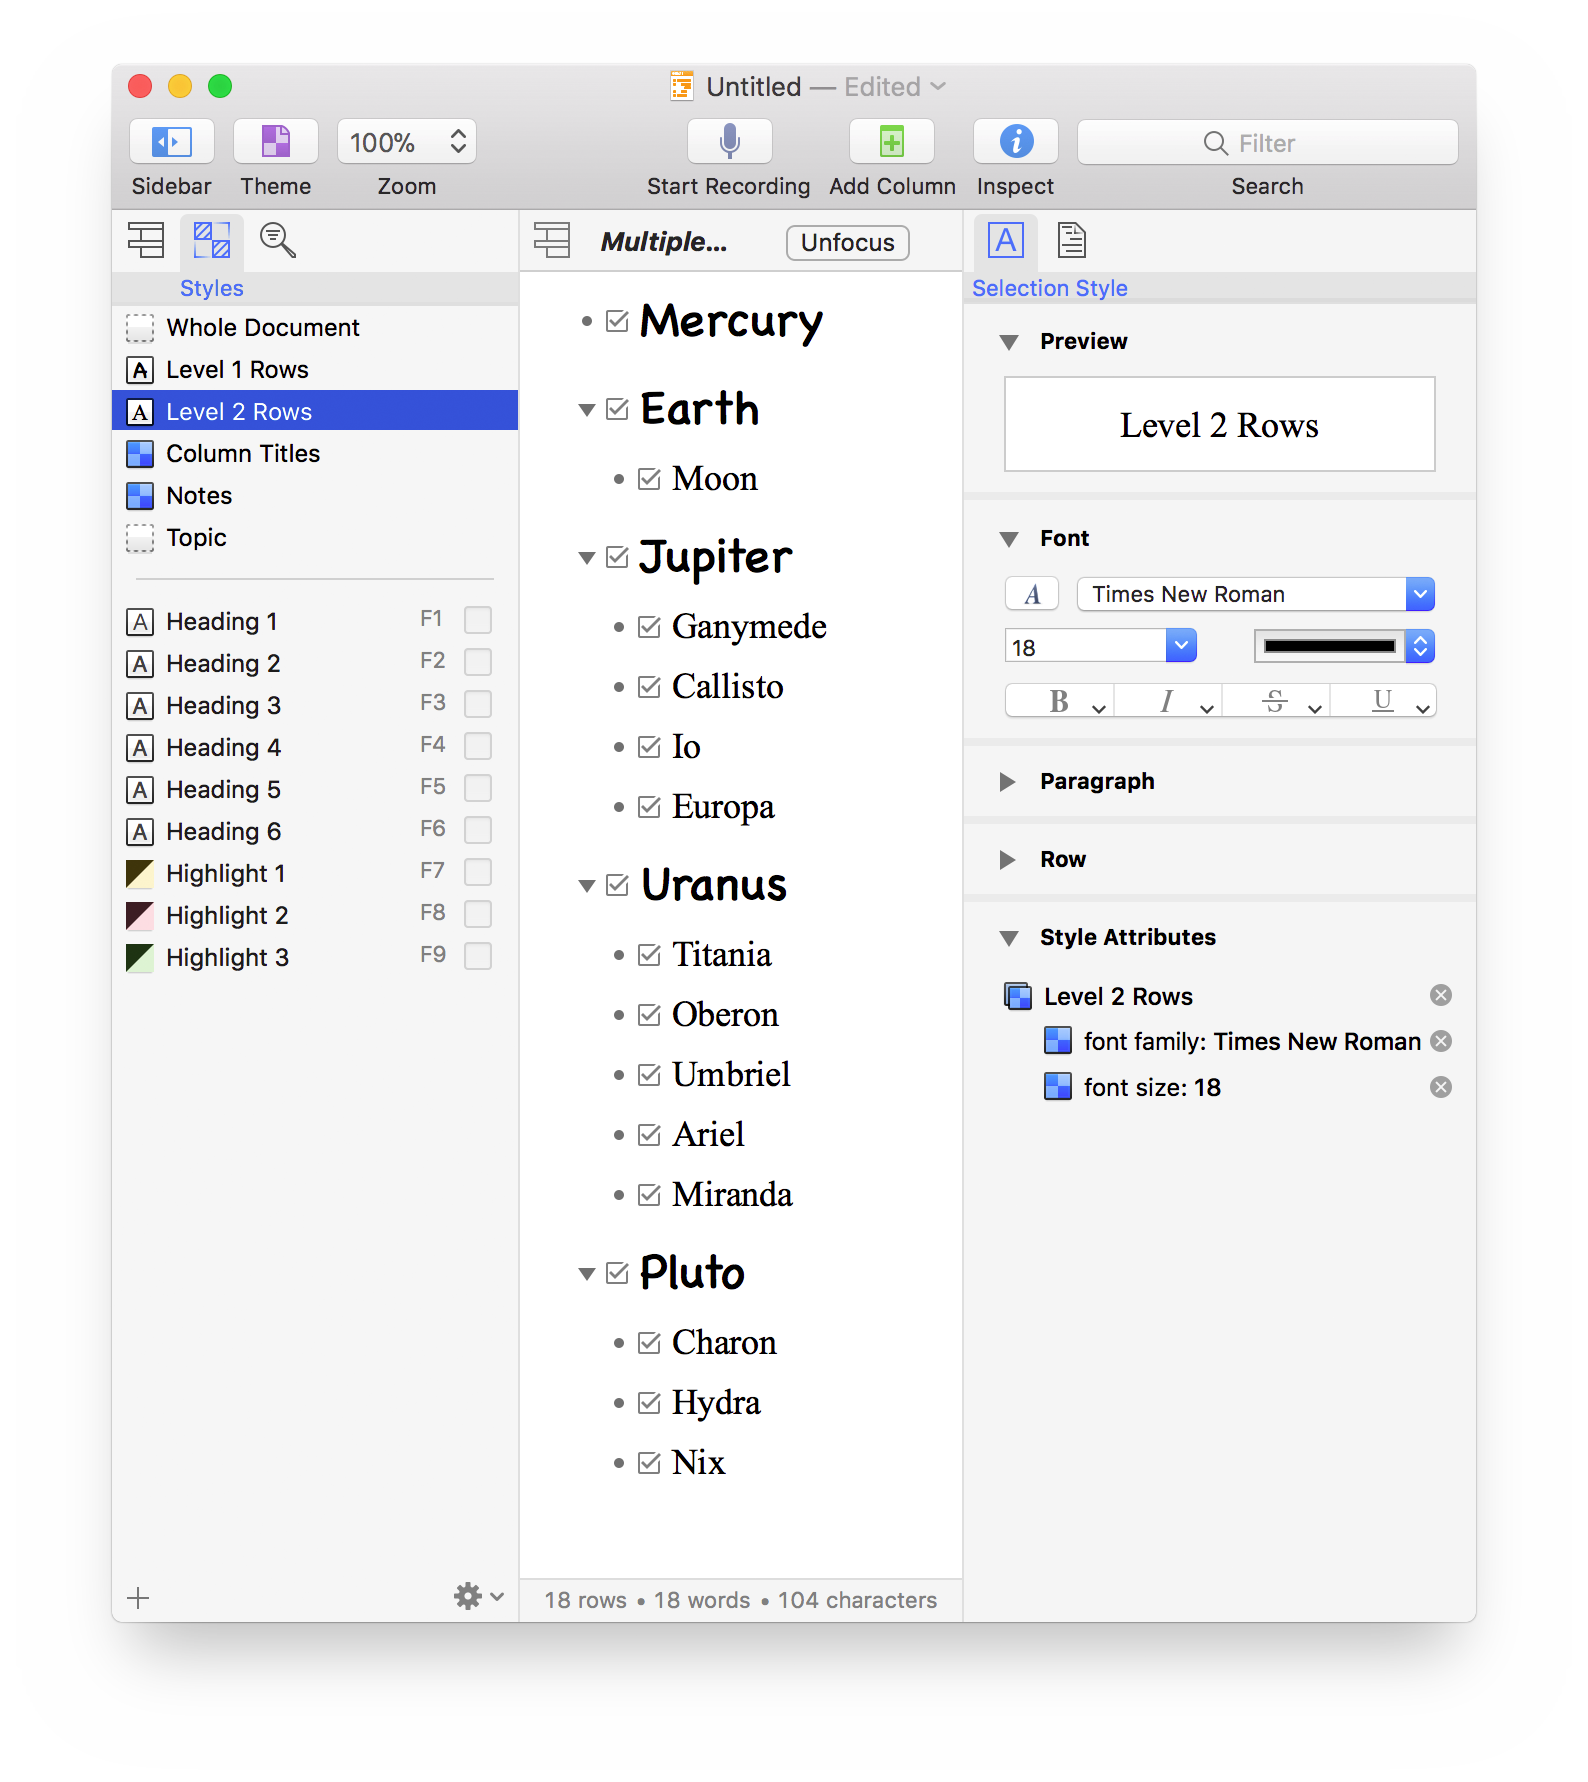
| DO THIS ► | To consolidate the results, execute the following script to focus only the checked rows. |
NOTE: The script uses the apply() function that iterates every item in the outline, to check their status.
Focus Checked Items
editor = document.editors[0]checkColumn = document.outline.statusColumncheckedItems = new Array()editor.rootNode.apply(function(node){state = node.valueForColumn(checkColumn)if (state === State.Checked){checkedItems.push(node.object)}})if(checkedItems.length > 0){editor.focusedItems = checkedItems}
What’s Next?
In the next section we’ll learn how to add a script to the Automation menu by creating and installing a plug-in.