Projects
A Project is a container for organizing and managing the tasks related to a specific topic or event. Projects are usually comprised of tasks that are designed to be processed in sequence, together, or in an order chosen by the user. Projects share many of the same properties and functions with tasks.
In this section of the tutorial, you’ll learn how to create projects, set the value of their properties, and populate them with tasks.
To begin, let’s examine where projects are surfaced in the OmniFocus interface.
| DO THIS ► | The Projects Perspective displays a list of your projects in the sidebar. Run the following script that sets the value of the perspective property of the Window class so that the Projects Perspective is displayed: |
Show the Projects Perspective
document.windows[0].perspective = Perspective.BuiltIn.Projects
The Projects Perspective will now be displayed in OmniFocus. TIP: you can use this script to change the currently displayed perspective by replacing the Projects property of the Perspective.BuiltIn class to: Flagged, Forecast, Inbox, Nearby, Tags, Search, or Review
New Project
Instances of the Project class are created using the standard JavaScript new item constructor, with the name of the new project as the parameter passed into the function:
new Project(name:String, position:Folder or Folder.ChildInsertionLocation or null) → (Project) • Create an instance of the Project class.
As with tags and tasks, there is no limitation as to the naming of projects. You can have multiple projects titled using the same name. If maintaining an OmniFocus database of unique project names is important to you, the same functions we used in the previous section to ensure unique tags can be adapted for use with the creation and referencing of projects:
Unique Top-Level Project
var projName = "4-Step Success"var projObj = flattenedProjects.byName(projName) || new Project(projName)
For the purposes of this tutorial, we’ll use the basic project new item constructor to create a new instance of the Project class at the top-level of the projects list.
| DO THIS ► | Enter and run the following script: |
New Project
var projName = "4-Step Success"var projObj = new Project(projName, library.beginning)
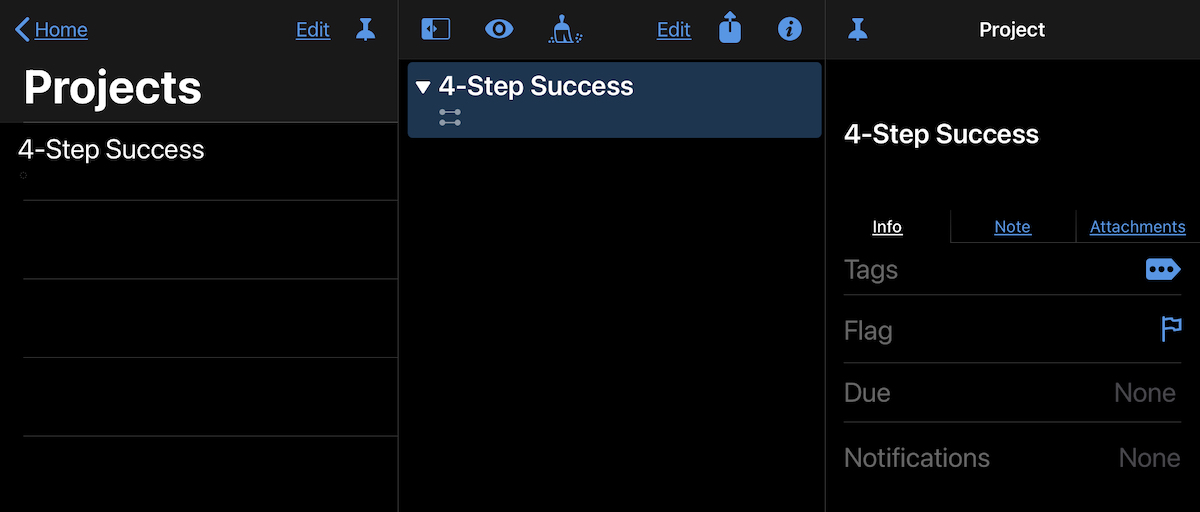
A new project is created and the object reference to it has been stored in the variable: projObj
NOTE: The property library of the Database class (line 2 in the previous script) represents the top-level folders and projects in the database, which are displayed in the Projects Perspective. This property also supports the use of the apply(…) method to iterate library content.
Now that the project has been created, it can be populated with actions, beginning with the first three actions in the Inbox.
NOTE: the value of the inbox property of the Database class is an array of object references to the tasks in the Inbox. We can create an array of object references to the first three tasks in the Inbox by using the JavaScript splice(…) function.
1st Three Inbox Tasks
var taskObjs = inbox.splice(0,3)//--> [[object Task: TASK ONE], [object Task: TASK TWO], [object Task: TASK THREE]]
1 The first parameter of the splice(…) function is the index of the item to begin the spliced array. Second parameter is how many items to include in the spliced array. The resulting array of references is stored in the variable: taskObjs
2 The result is an array of three object references to the first three tasks in the Inbox.
Now that we have identified the previously created tasks, we can use the moveTasks(…) function of the Database class to move the identified tasks into the newly created project.
| DO THIS ► | Enter and run the following script for moving the inbox tasks into the newly created project: |
Move Tasks into Project
var taskObjs = inbox.splice(0,3)moveTasks(taskObjs, projectNamed("4-Step Success").beginning)
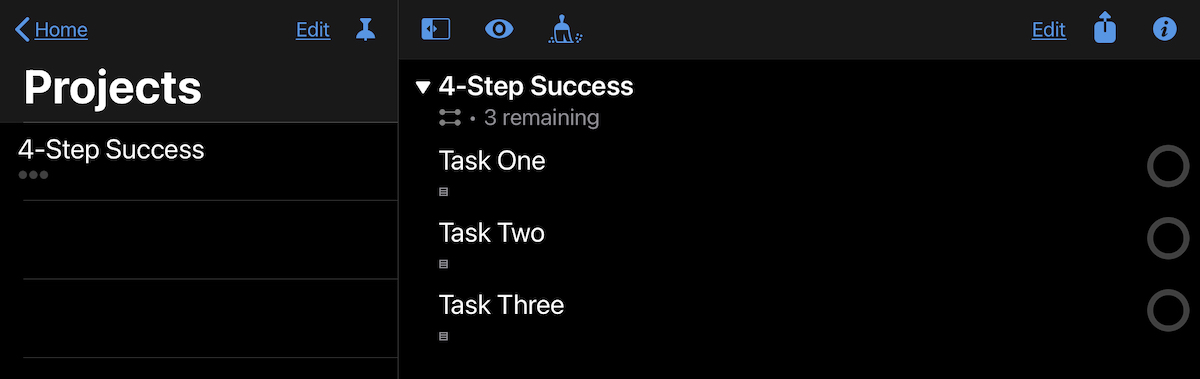
The previously created project will now contain the three tasks moved from the Inbox:
Since the title of the targeted project is “4-Step Success” and it contains three tasks, we need to create one more task. Let’s add another task to the project.
| DO THIS ► | Enter and run the following script: |
Add 4th Task to Project
new Task("Task Four", projectNamed("4-Step Success").ending)
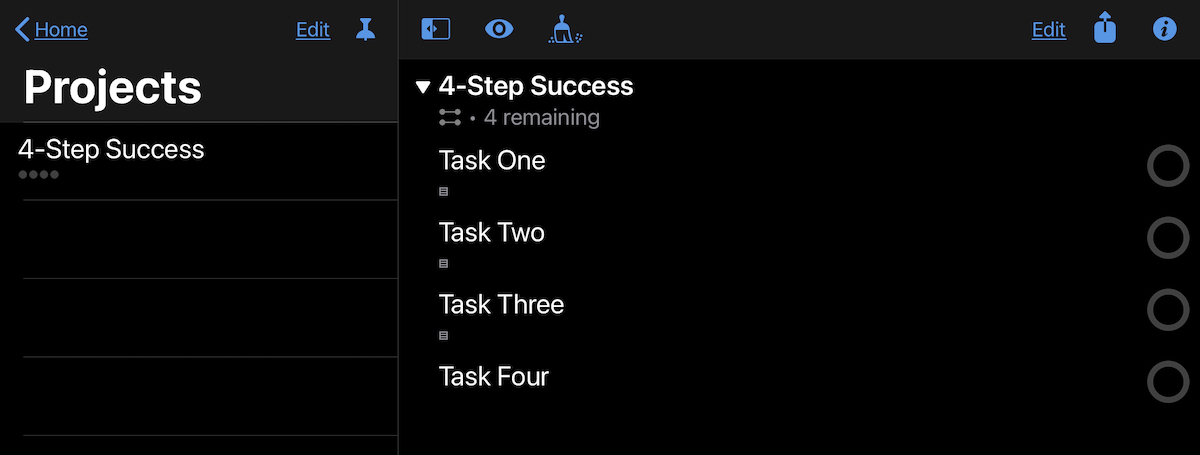
A fourth task is added to the end of project tasks:
Project Properties
With all four tasks now in place in the project, we can change the value of a couple of project properties to alter the way the project functions.
For this example, we want the project tasks to be completed in order, and when the last task of the project is completed, the project is to be marked as completed. We can change the default values of the following properties of the example project to accomplish our goals:
sequential (Boolean) • If true, then children of this project form a dependency chain. For example, the first task blocks the second one until the first is completed.
completedByChildren (Boolean) • If set, the project will be automatically marked completed when its last child Task is marked completed.
| DO THIS ► | Enter and run the following script: |
Set Project Properties
var projObj = projectNamed("4-Step Success")projObj.sequential = trueprojObj.completedByChildren = true
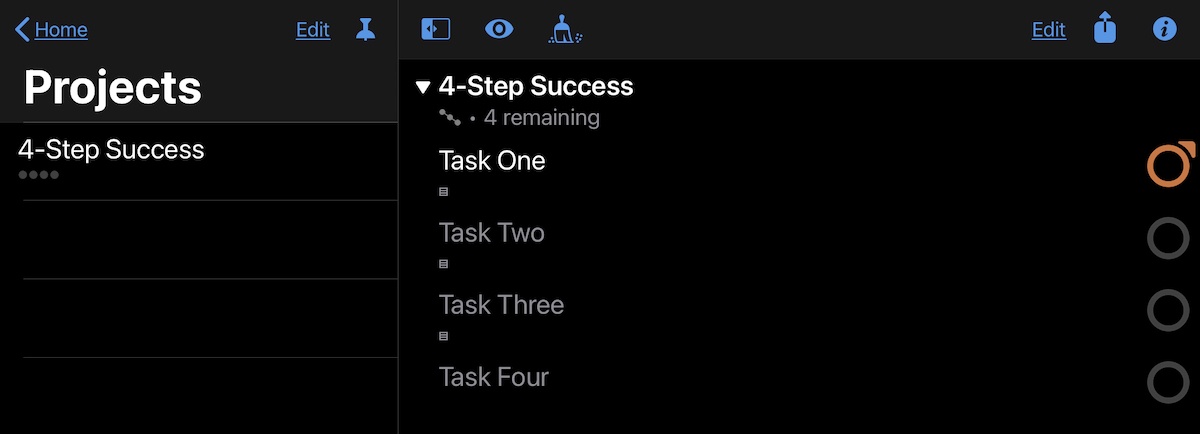
The example project will now be display a sequential project icon (see arrow below), and the first task is enabled while the others are disabled:

To edit the properties of an existing project task, append the taskNamed(…) function to an object reference to the parent project:
| DO THIS ► | Enter and run the following script: |
Edit Task in Project
projectNamed("4-Step Success").taskNamed("Task One").flagged = true
The first task in the sequence of project tasks will be flagged:
Summary
In this section you learned:
How to display the Projects Perspective.
How to create a new instance of the Project class.
How to move tasks into a project.
How to add a task to a project.
How to change the values of the properties of a project.
In the next section, you will learn how to create and install plug-ins.