TypeScript and Omni Automation
TypeScript is an open-source language which builds on JavaScript, one of the world’s most used tools, by adding static type definitions.
Fully documented on typescriptlang.org TypeScript includes the use of the TypeScript Server, an instance of the Language Server Protocol (LSP) that can provide active JavaScript error checking and code completion within supporting code editor applications.
The following documentation details how to install the TypeScript Server components for use with code editing applications used to compose and edit Omni Automation plug-ins and scripts.
Installing the Supporting Tools
The TypeScript Language Server uses Node.js as an environment for performing its functionality. Node.js is a JavaScript runtime built on Chrome’s V8 JavaScript engine.
| DO THIS ► | Download NodeJS Installer from the nodejs.org website. |
(⬇ see below ) The Node.js installer package icon:
NOTE: The Node.js installer will install both Node.js and npm (Node Package Manager) a tool for organizing the Node.js toolset. For our purposes, it is not necessary to know the details of how these open-source tools function. They are a requirement for the installation of the TypeScript Language Server.
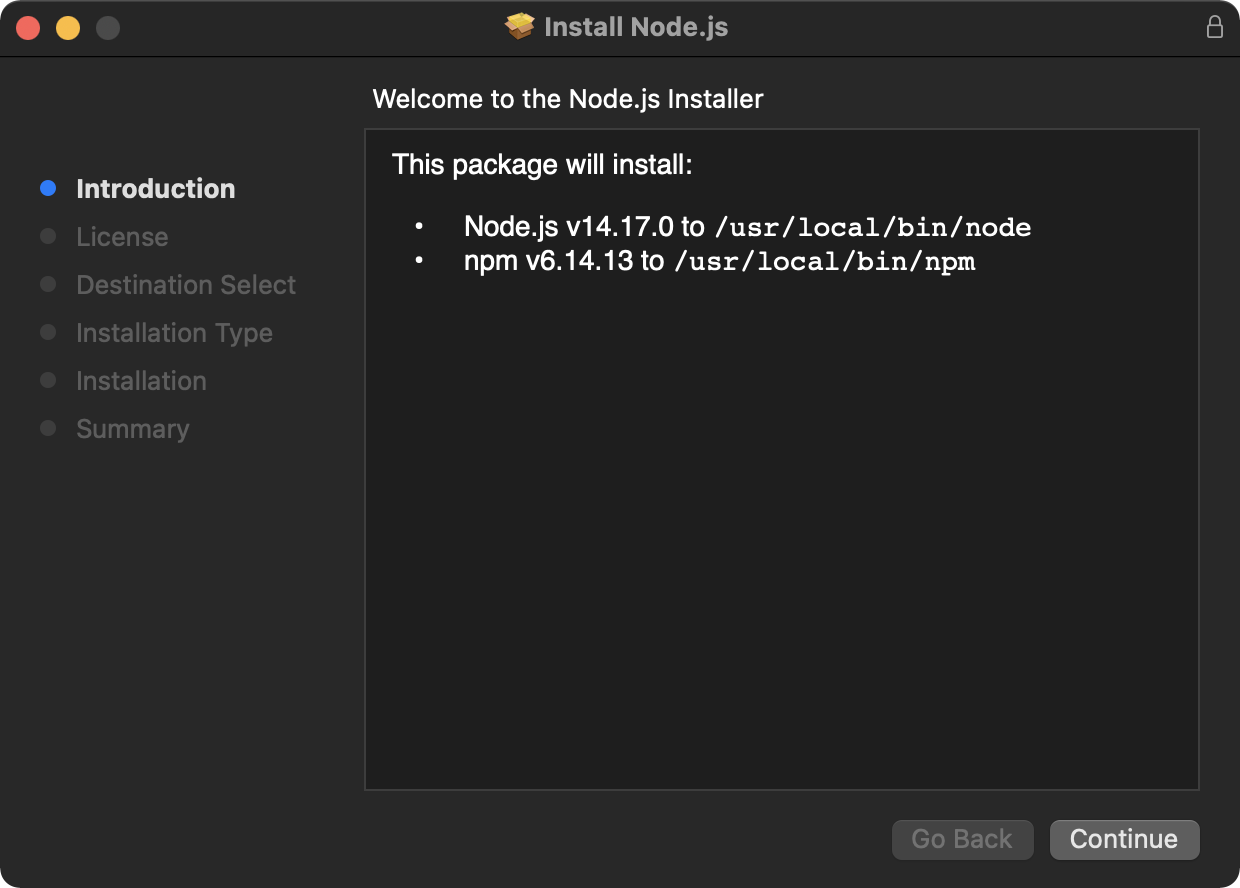
| DO THIS ► | Open the Node.js Installer and begin the installation process by clicking the “Continue” button in the first screen: |
Installing TypeScript and TypeScript Language Server
The TypeScript components and server can be installed from their online providers using the NPM tools that you just installed.
| DO THIS ► | Open the Terminal Application. In LaunchPad type “Terminal” to reveal and select the Terminal application. Press the Return key to launch the application. |

A new Terminal session window will open, displaying a blinking cursor indicating that it is ready to accept your input.
| DO THIS ► | Copy the command for installing TypeScript shown below and paste it into the Terminal window. |
The Install TypeScript Command
sudo npm install -g typescript
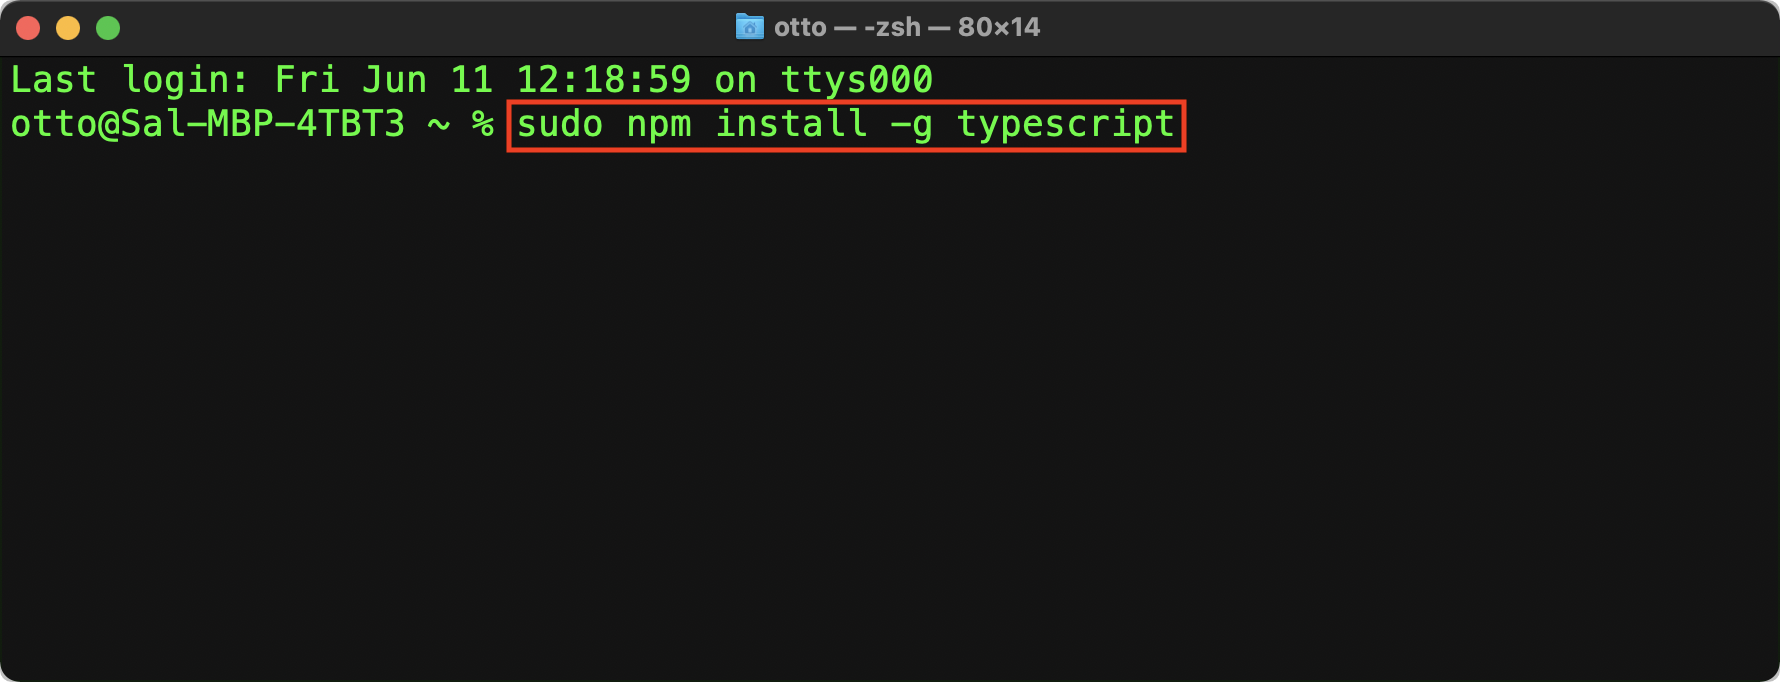
| DO THIS ► | Run the command by pressing the Return or Enter key. You will be prompted to enter an administrative password for the current user. |
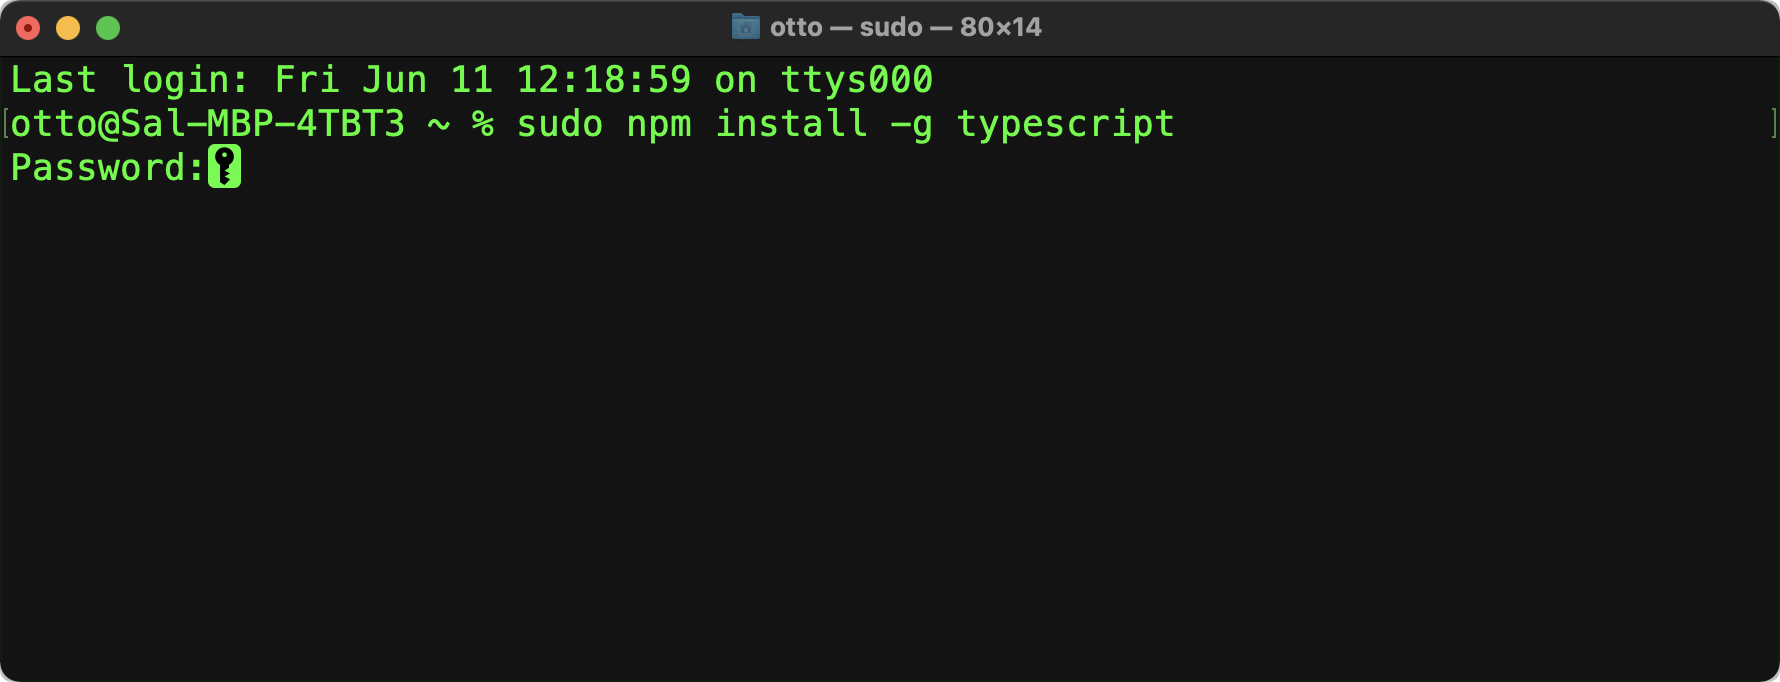
| DO THIS ► | Enter the password and press the Enter or Return key. The Terminal window will display a progress indicator as it installs the required items: |
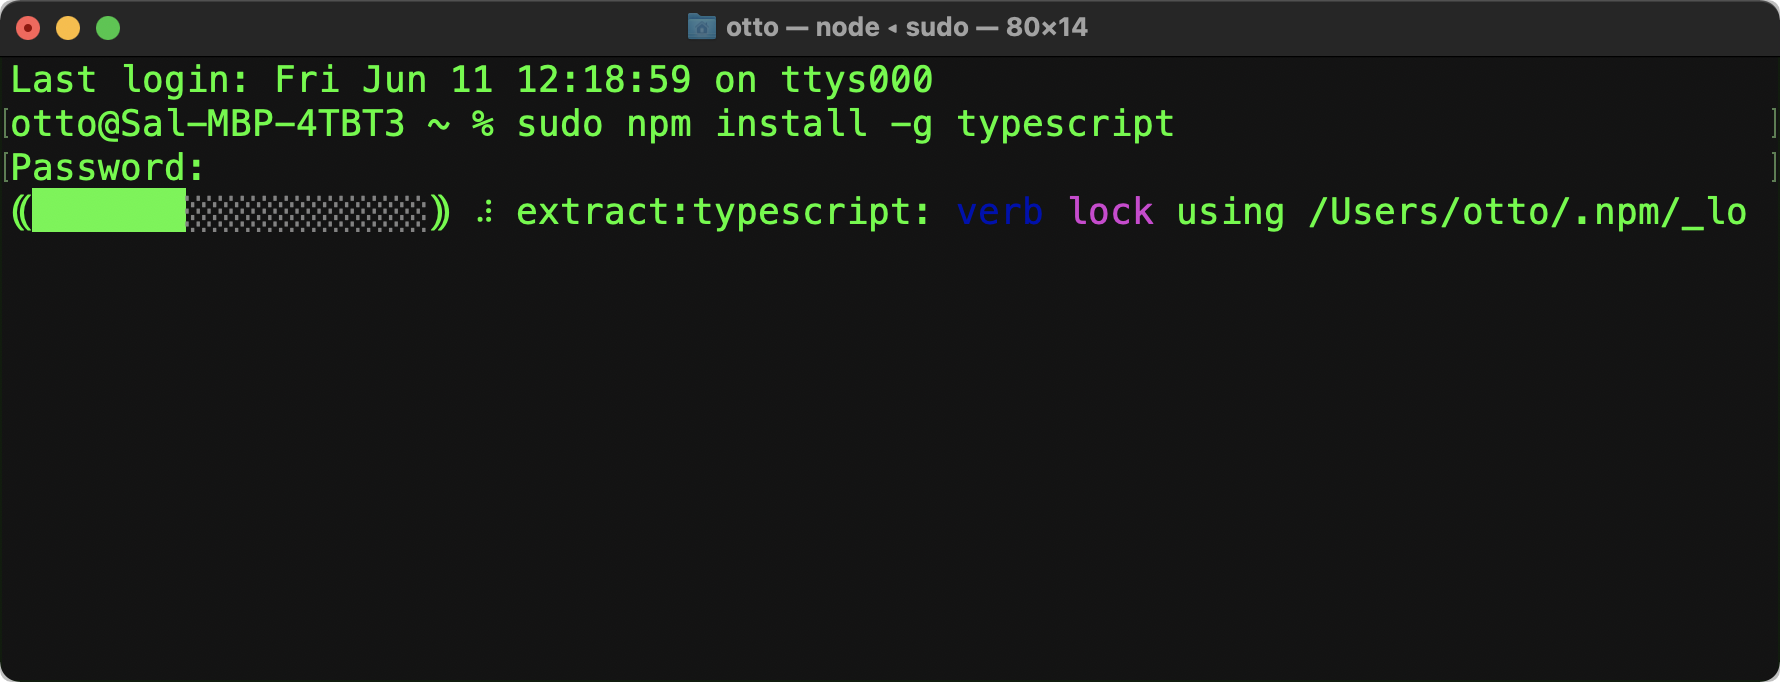
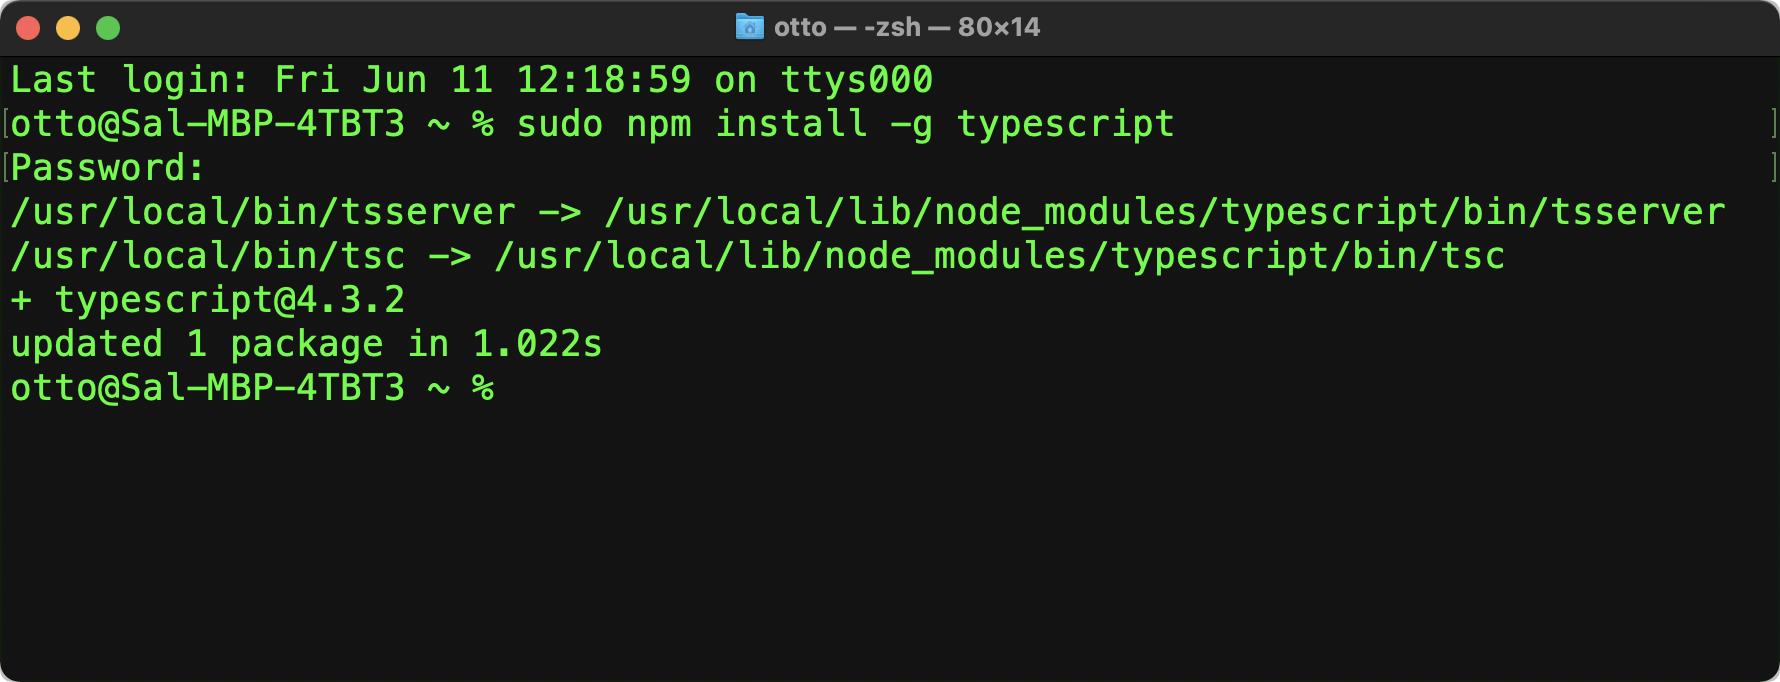
When the TypeScript installation has completed, a message similar to the following will be displayed:
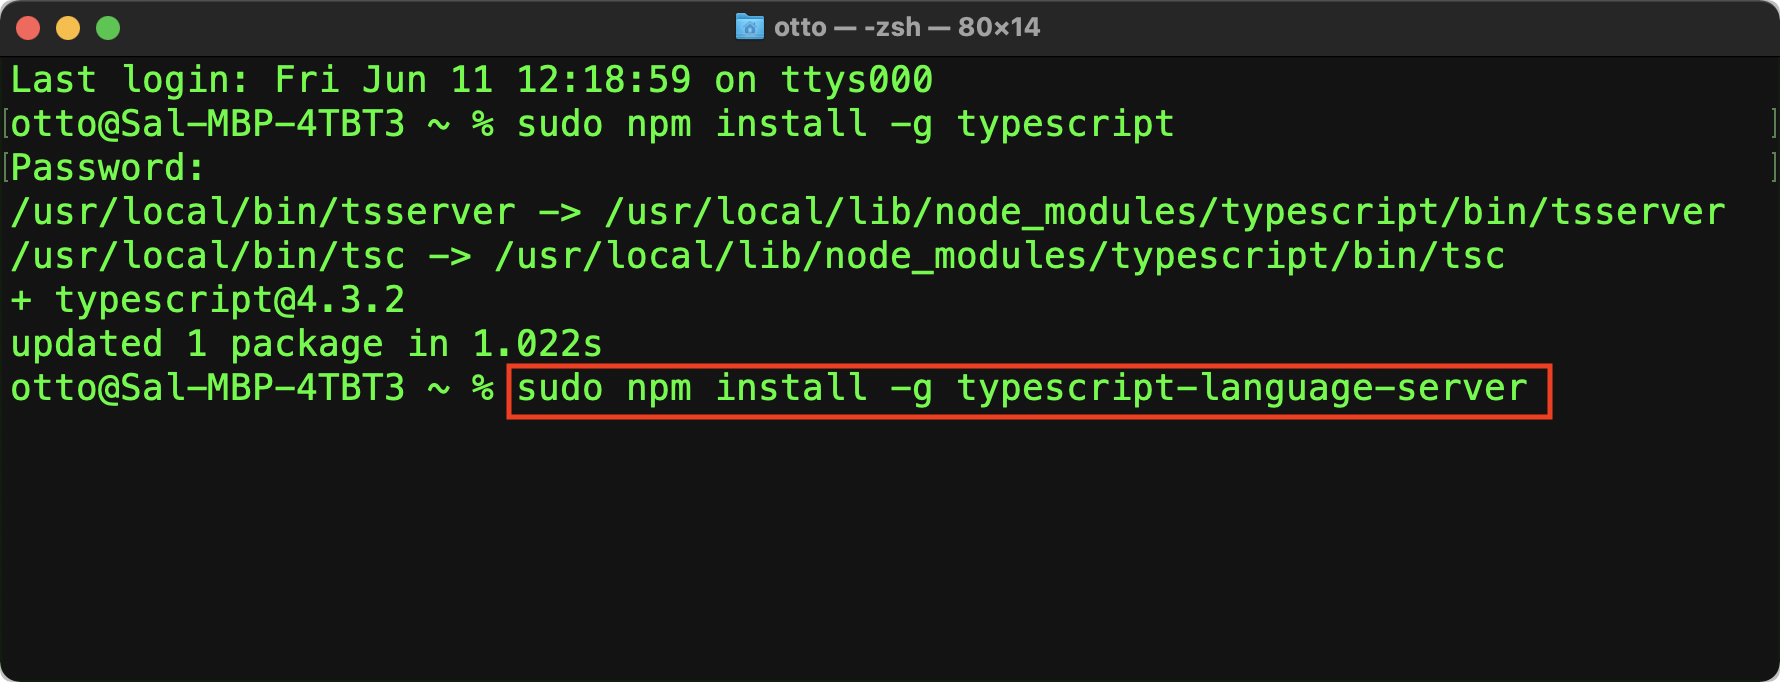
| DO THIS ► | Copy the command shown below for installing TypeScript Server and paste it into the Terminal window. |
The Install TypeScript Server Command
sudo npm install -g typescript-language-server
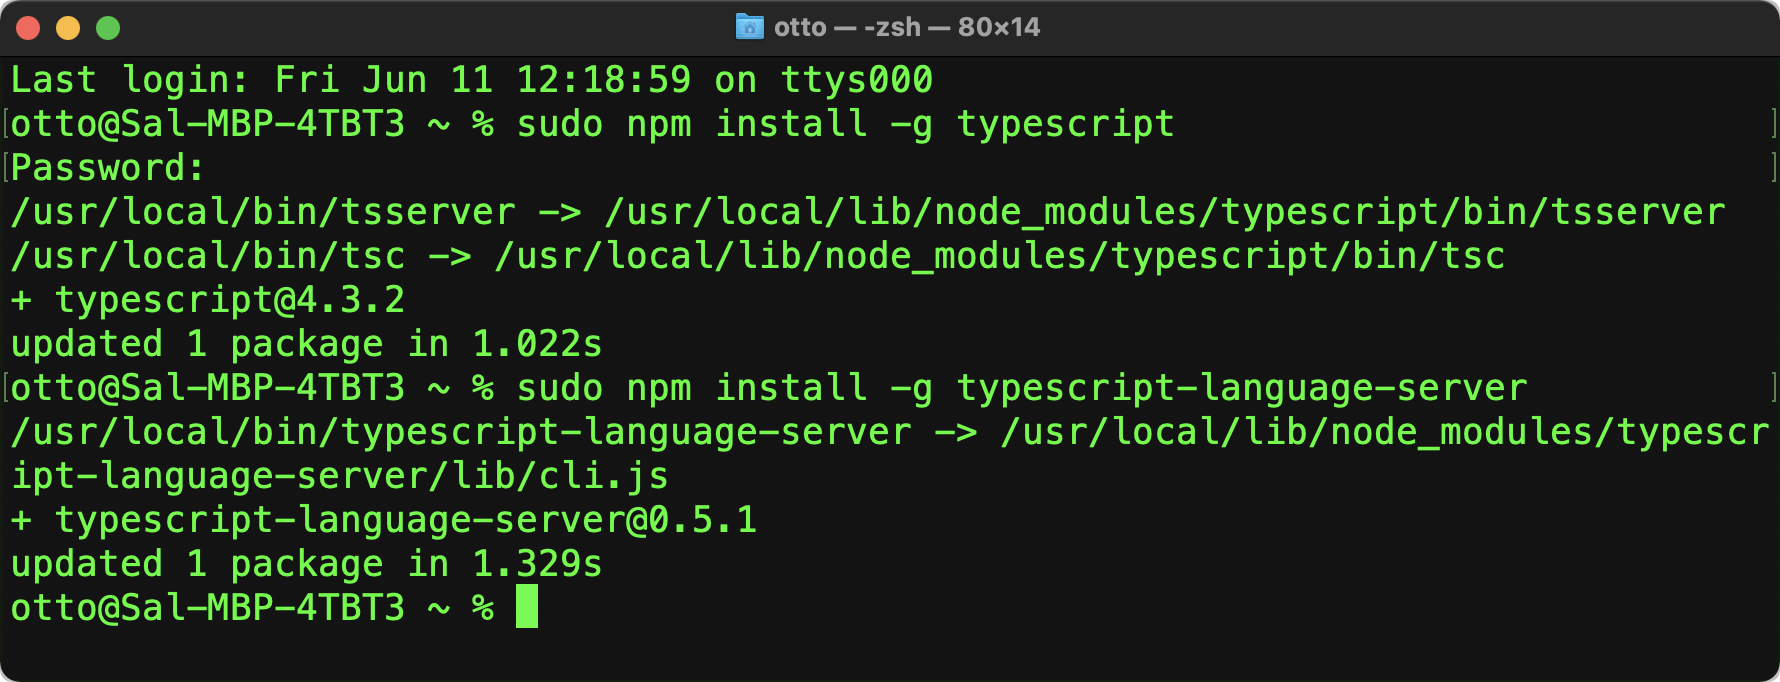
| DO THIS ► | Run the command by pressing the Return or Enter key. Since you’ve already supplied the password in the previous installation, you won’t be prompted again. When the installation has completed, the Terminal window will display a message similar to this: |
Omni Automation Development Environment
In order to edit Omni Automation plug-ins using TypeScript, specific files require installation.
| DO THIS ► | DOWNLOAD a ZIP archive containing the items that are placed within your TypeScript project folder: |
- tsconfig.json • The server configuration file indicates to the installed TypeScript Server which version of JavaScript to use.
- omnifocus.d.ts • The TypeScript Definitions file for OmniFocus that will be used by the installed TypeScript Server for code completion and error checking.
- all-hello-world.ts • An example Omni Automation plug-in you can use for practice. NOTE: in order to be recognized by the TypeScript Server, the file extension must be “.ts”. Rename to the appropriate Omni Automation plug-in extension before installing for use: omnifocusjs, omnigrafflejs, omnioutlinerjs, omniplanjs, or omnijs
Here are links to download the TypeScript Definition files for each of the Omni applications:
3rd-Party Omni Automation Editors with TypeScript Support
- The BBEdit v14 application from Bare Bones Software introduces LSP support for TypeScript. Here’s how to use BBEdit as an Omni Automation IDE.