URL: Fetch
Omni Automation scripts can import data and content from a variety of sources. Doing so involves the use of the fetch() method, executed on a URL object instance. The fetch() function runs asynchronously in relation to the rest of its host script and so any script code for processing the results of the fetch must be placed within a call-back function that is the direct parameter of the call.
NOTE: the fetch() instance function of the URL class supports the retrieval of data (GET) but not the use of header data (POST). The fetch() function of the URL class is appended to a URL instance and takes a call-back function as its function parameter: aURL.fetch(function(retrievedData){//actions go here})
However, the URL.FetchRequest and URL.FetchResponse classes provide a version of the fetch() function that may optionally include HTTP headers to perform authenticated GET, POST, PUT, and DELETE functions.
Examples
For example, the following script uses the fetch() method to download an image file from the internet, and import it into the current OmniGraffle document. In the example, the fetch() method is called (line 4) and the processing of the downloaded image is performed in the call-back function (line 4 — 16):
OmniGraffle: Import Image from Internet
urlString = "https://omni-automation.com/gfx/18207.jpg"resourceName = URL.fromString(urlString).lastPathComponentresourceName = decodeURIComponent(resourceName)url = URL.fromString(urlString)url.fetch(function(data){aGraphic = canvases[0].newShape()aGraphic.strokeThickness = 0aGraphic.shadowColor = nullaGraphic.fillColor = nullaGraphic.image = addImage(data)aGraphic.name = resourceNameimageSize = aGraphic.image.originalSizeimgX = imageSize.widthimgY = imageSize.heightaGraphic.geometry = new Rect(aGraphic.geometry.x,aGraphic.geometry.y, imgX, imgY) document.windows[0].selection.view.select([aGraphic])}, function(err){new Alert(err.name, err.message).show()})
And here is another example using the same technique. This script will import an image file into the current OmniGraffle document from an installed Plugin:
OmniGraffle: Import Image from PlugIn
plugin = PlugIn.find("com.omni-automation.og.example-plug-in")resourceName = "Australia.png"url = plugin.resourceNamed(resourceName)url.fetch(function(data){aGraphic = canvases[0].newShape()aGraphic.strokeThickness = 0aGraphic.shadowColor = nullaGraphic.fillColor = nullaGraphic.image = addImage(data)aGraphic.name = resourceNameimageSize = aGraphic.image.originalSizeimgX = imageSize.widthimgY = imageSize.heightaGraphic.geometry = new Rect(aGraphic.geometry.x,aGraphic.geometry.y, imgX, imgY) document.windows[0].selection.view.select([aGraphic])})
Retrieving Other Data Types
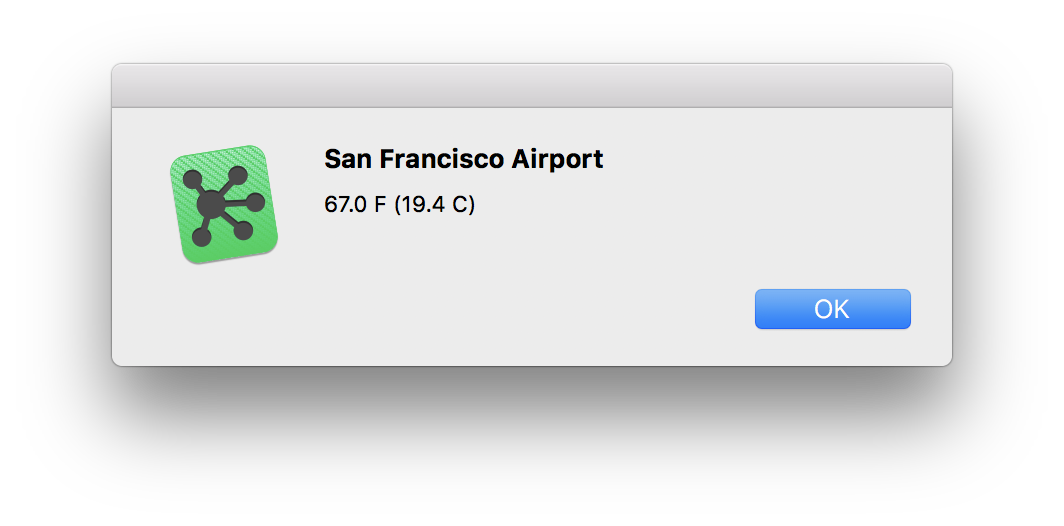
The previous examples retrieved image data that was added to an OmniGraffle document as an image. The following example uses the fetch() method to retrieve textual weather data from NOAA (National Oceanic and Atmospheric Administration) in XML format that can be parsed for specific data. In this example, the current temperature at the San Francisco International Airport is retrieved and displayed in an alert:
Get Temperature at San Francisco Airport (SFO)
aURL = URL.fromString('https://forecast.weather.gov/xml/current_obs/ KSFO.xml') locationName = "San Francisco Airport"aURL.fetch(function(data){queryResult = data.toString()console.log(queryResult)startTag = '<temperature_string>'startTagOffset = queryResult.indexOf(startTag)endTag = '</temperature_string>'endTagOffset = queryResult.indexOf(endTag)tempString = queryResult.substring(startTagOffset + startTag.length, endTagOffset)new Alert(locationName,tempString).show(function(result){})}, function(err){new Alert(err.name, err.message).show()})

URLs for other NOAA weather stations can be generated using ICAO codes provided by: airportcodes.aero
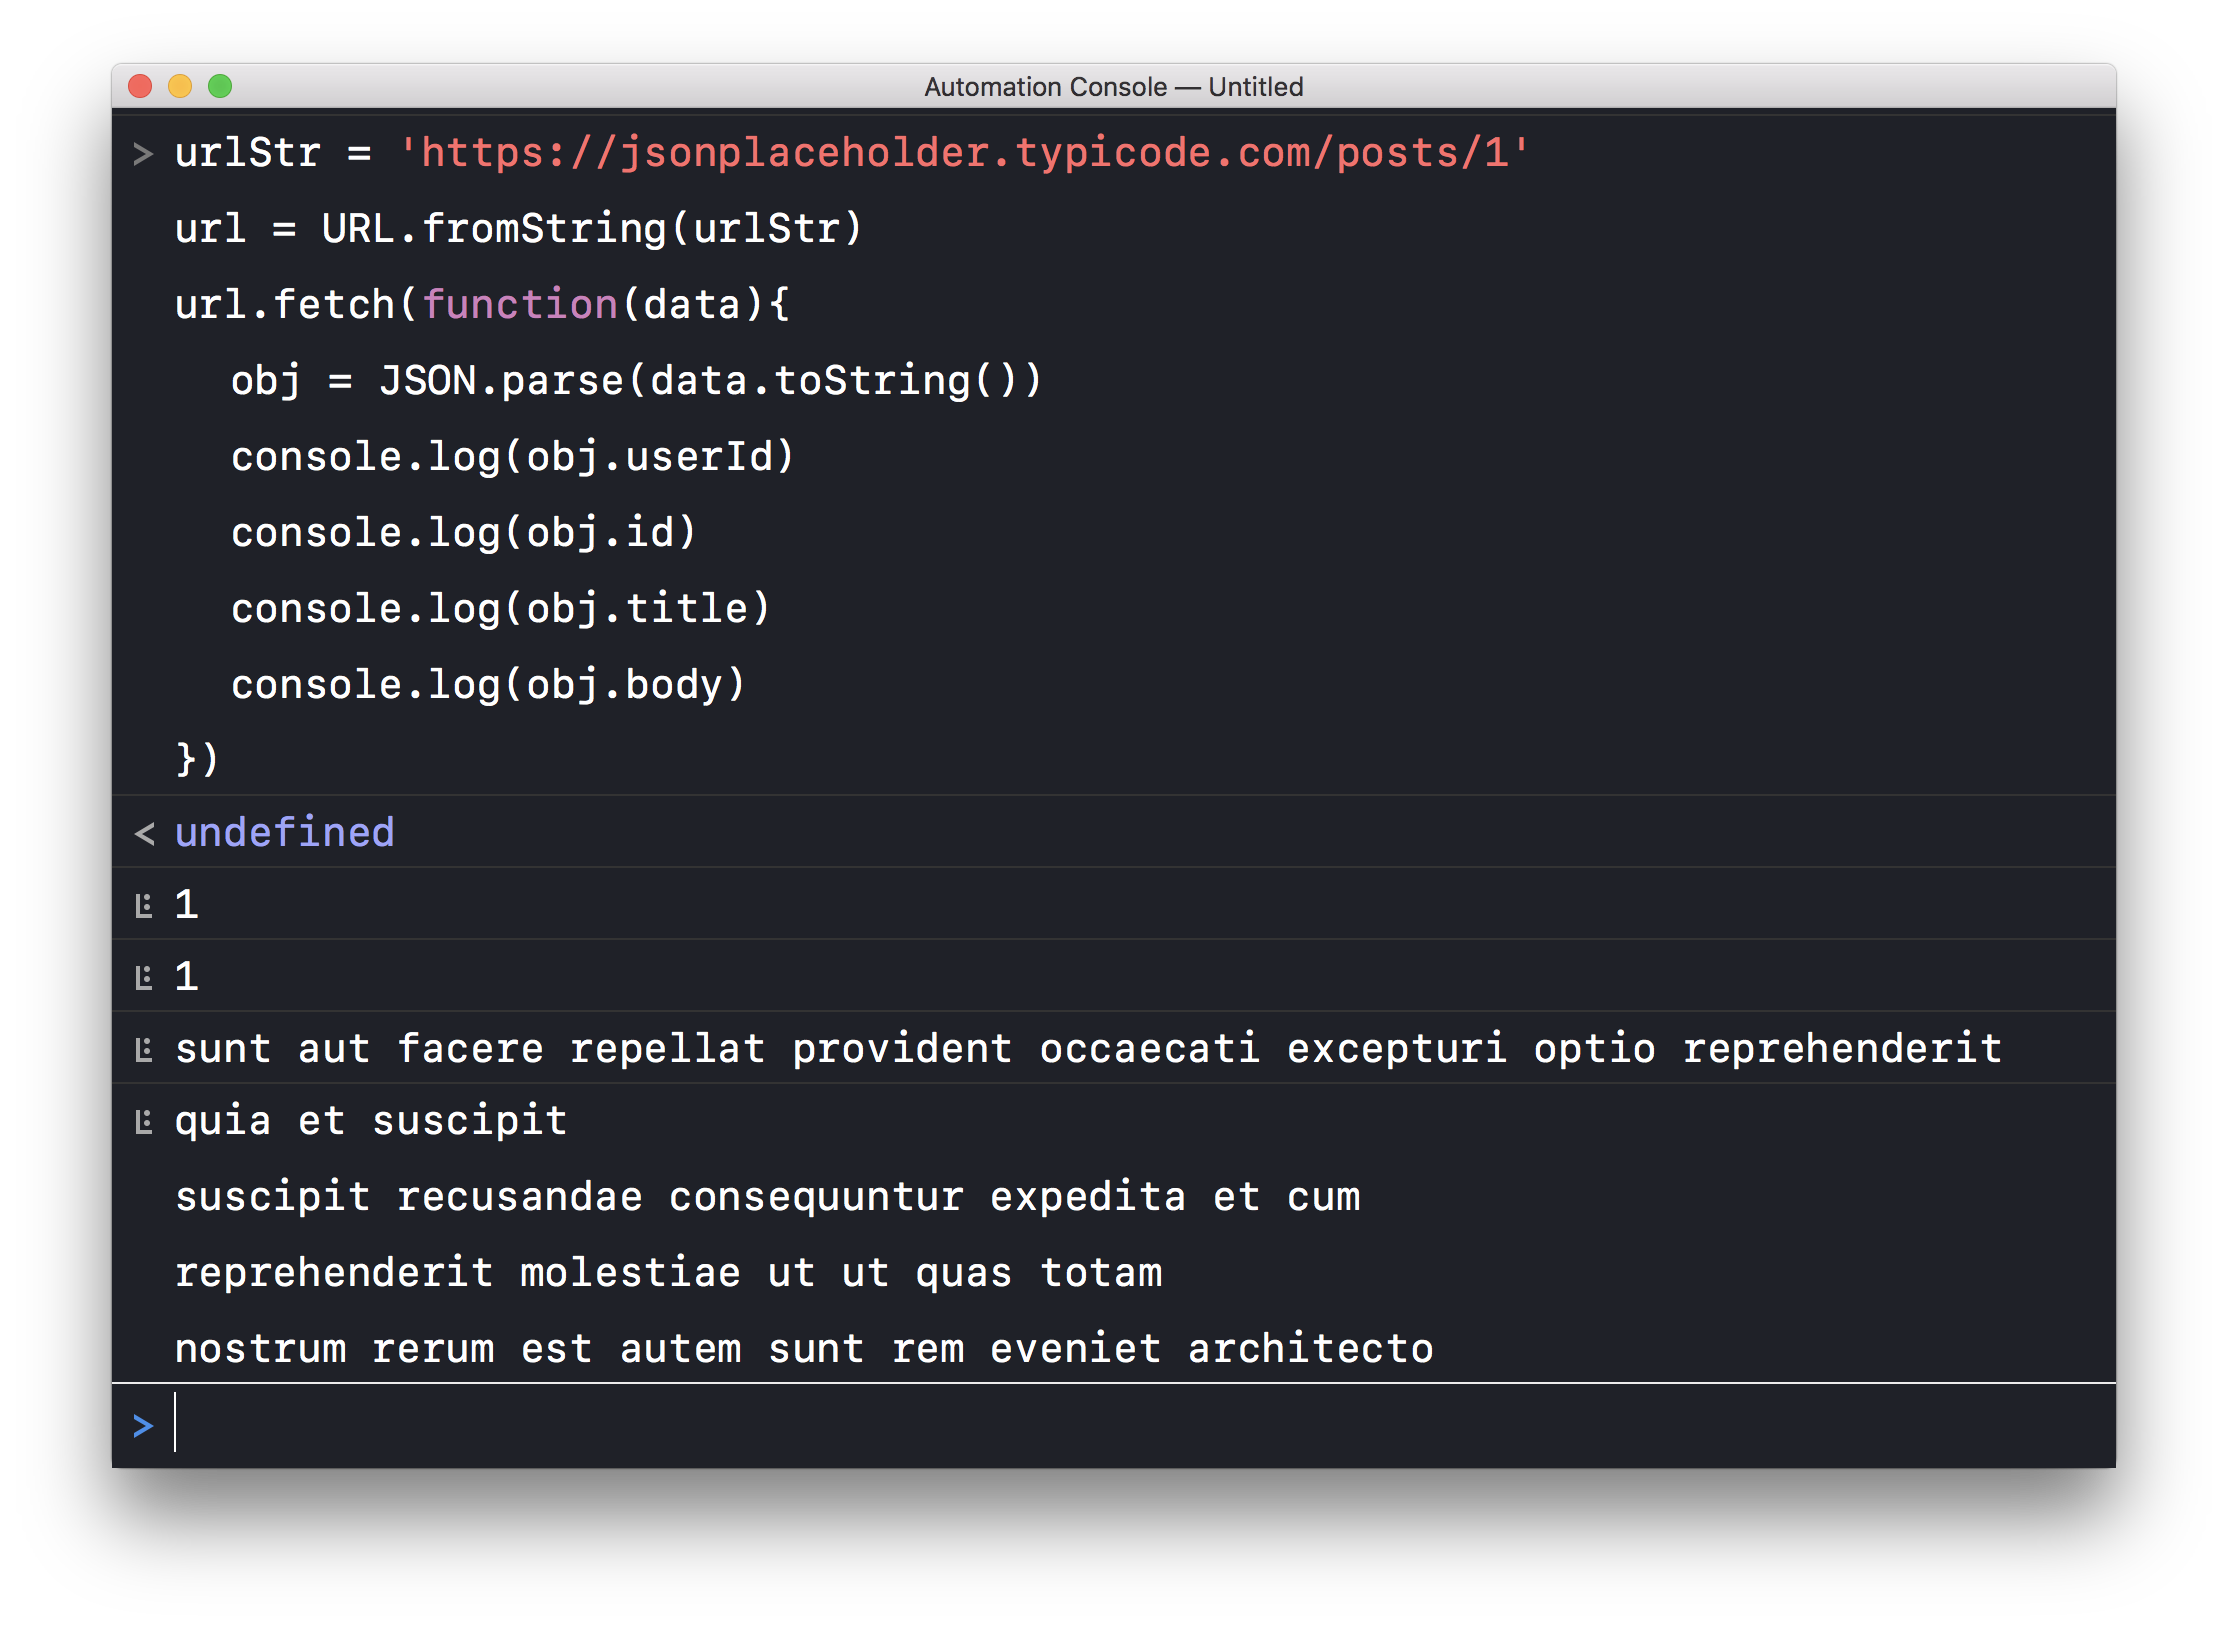
And here’s another example that retrieves a JSON data object from the JSONPlaceholder website:
Retrieve JSON Object
var urlStr = 'https://jsonplaceholder.typicode.com/posts/1'url = URL.fromString(urlStr)url.fetch(function(data){obj = JSON.parse(data.toString())console.log(obj.userId)console.log(obj.id)console.log(obj.title)console.log(obj.body)}, function(err){new Alert(err.name, err.message).show()})

The find(…) Function
The find(…) function can be used to search a specified directory for files of specified type(s):
find(types:Array of FileType, recurse:Boolean or null) → (Promise) • Scan a directory URL for files of the given types. If recurse is specified and is false, only the immediate contents of the directory will be considered. If recurse is not specified or is true, the full directory tree will be scanned.
In the following example, the user chooses a folder from a file picker dialog. Once chosen, the folder is searched, using the find(…) function, for image files saved in PNG format.
Finding PNG Images in Chosen Folder
(async () => {try {picker = new FilePicker()picker.folders = truepicker.multiple = falsepicker.message = "Select folder to search:"urls = await picker.show()folderURL = urls[0]console.log(folderURL)itemURLs = await folderURL.find([FileType.png], false)for (url of itemURLs){console.log(url.string)}itemCount = itemURLs.lengthhasHave = (itemCount === 1)? "has":"have"itemItems = (itemCount === 1)? "item":"items"alertMsg = `${itemCount} ${itemItems} ${hasHave} been logged to the Console.`new Alert("RESULTS",alertMsg).show()}catch(err){if(!err.causedByUserCancelling){new Alert(err.name, err.message).show()}}})();