“Clean & Wax”
In this section you’ll learn how to use all of the optional parameters of the addChild() method to create and set the value for a new item in one line.
The addChild() method has two optional parameters:
- insertion postion • An instance of an ItemPosition that indicates where in the item’s array of children, the new item should be inserted.
- processing function • A JavaScript function that is passed a reference to the new item, and then run. This is useful for manipulating the newly created item.
Both of these parameters can have a nil value, meaning they can be either left out, or represented by a null value.
- addChild() • No position or function provided. The new item is added to the end of the parent’s children.
- addChild(ItemPosition) • Provide the insertion position but no processing function. The new item is added to the parent’s children at the indicated position. You used this option in the last section.
- addChild(null, function(child){//function code}) • Processing function provided without insertion position. The new item is added to the end of the parent’s children and is then manipulated by the code in the processing function.
- addChild(ItemPosition, function(child){//function code}) • The new item is added at the indicated position, and is then manipulated by the code in the processing function.
You’ve already used the first two versions of the addChild() method in the previous section, so let’s try the third version of the method that provides a processing function without an insertion position.
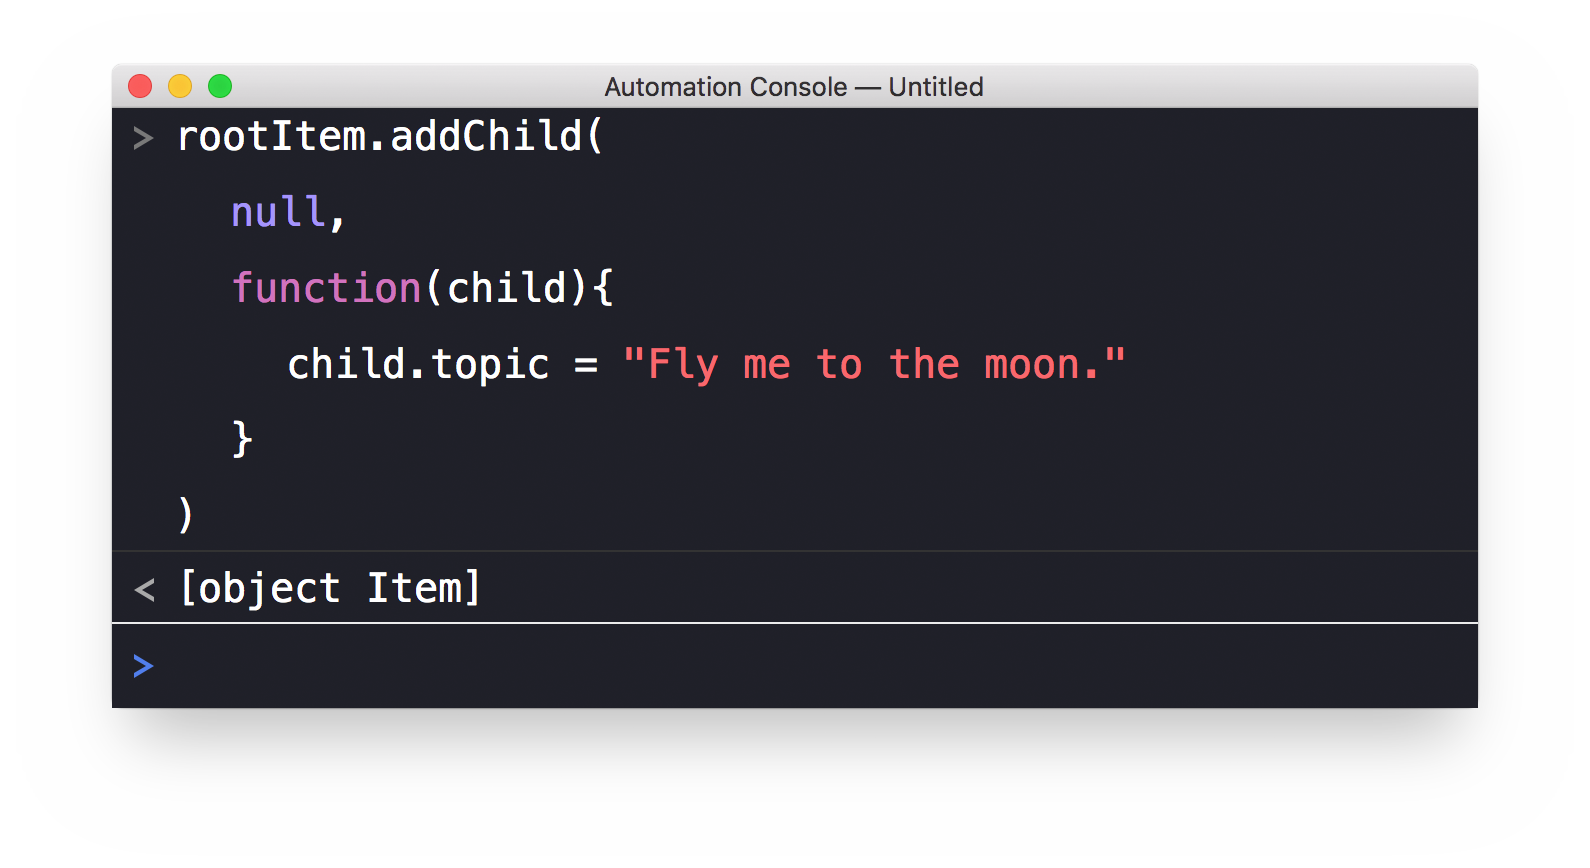
Here is a single-line script for creating a new row. The script includes a null as the value for the position parameter, and a complete function for the processing parameter.
Add Child at Default Position setting Topic
rootItem.addChild(null, function(child){child.topic = "Fly me to the moon."})
You may find single-line scripts incorporating multiple parameters and functions to be difficult to visually parse or understand. However, JavaScript is very flexible when it comes to composing scripts. You may break a single-line script into multiple lines to make it easier to visualize the functionality of the script.
For example, here is the same script as the previous single-line example, but displayed on multiple lines. The scripts execute the same, but the second example is easier to understand, as each method parameter is given its own line: the insertion postion (line 2), and the processing function (line 3)
Add Child at Default Position setting Topic
rootItem.addChild(null,function(child){child.topic = "Fly me to the moon."})
If the code of the processing function is more than a single line, you may wish to expand its display as well, as in this version that puts the function code between the function opening (line 3) and the function closing (line 5). You can add as many lines of function code as needed in between those.
Add Child at Default Position setting Topic
rootItem.addChild(null,function(child){child.topic = "Fly me to the moon."})
| DO THIS ► | Copy and paste one of the three versions into the console and execute it by pressing the Return key. |

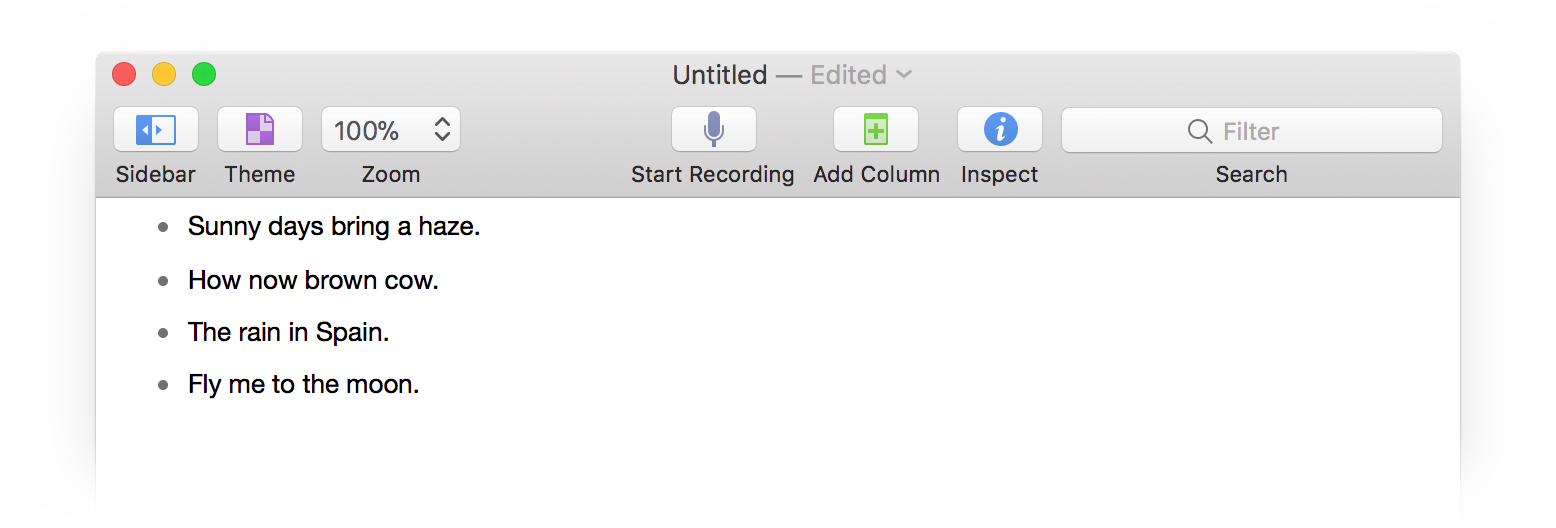
A new row is added to the end of the outline, and a reference to the new row is returned as a result of the script execution.

And finally, let’s try the last option for the addChild() method where both an insertion position parameter and processing function parameter are declared.
In this example, a new row will be added before the last item in the outline. To accomplish this task, we must first get the index (positional indicator) of the last item in the current array of children of the rootItem.
You can get the count of items in an array using the length property. For example, the length of the array in the following example is 4, meaning there are four (4) items in the array:
Length of an Array
friends = ["Bob", "Carl", "Xena", "Sue"]friends.length//-> 4
However, since arrays are indexed starting at zero (0), the index of the last item in an array is always one (1) less than the length of the array. So to reference the last item in an array, you subtract one (1) from the array’s length, and use the resulting value as the index of the target item:
Last Item in an Array
friends = ["Bob", "Carl", "Xena", "Sue"]friends[friends.length - 1]//-> Sue
So, the index for the last item of the array of children of the rootItem can be derived like this:
Index of Last Child of the Root Item
indexOfLastItem = rootItem.children.length - 1
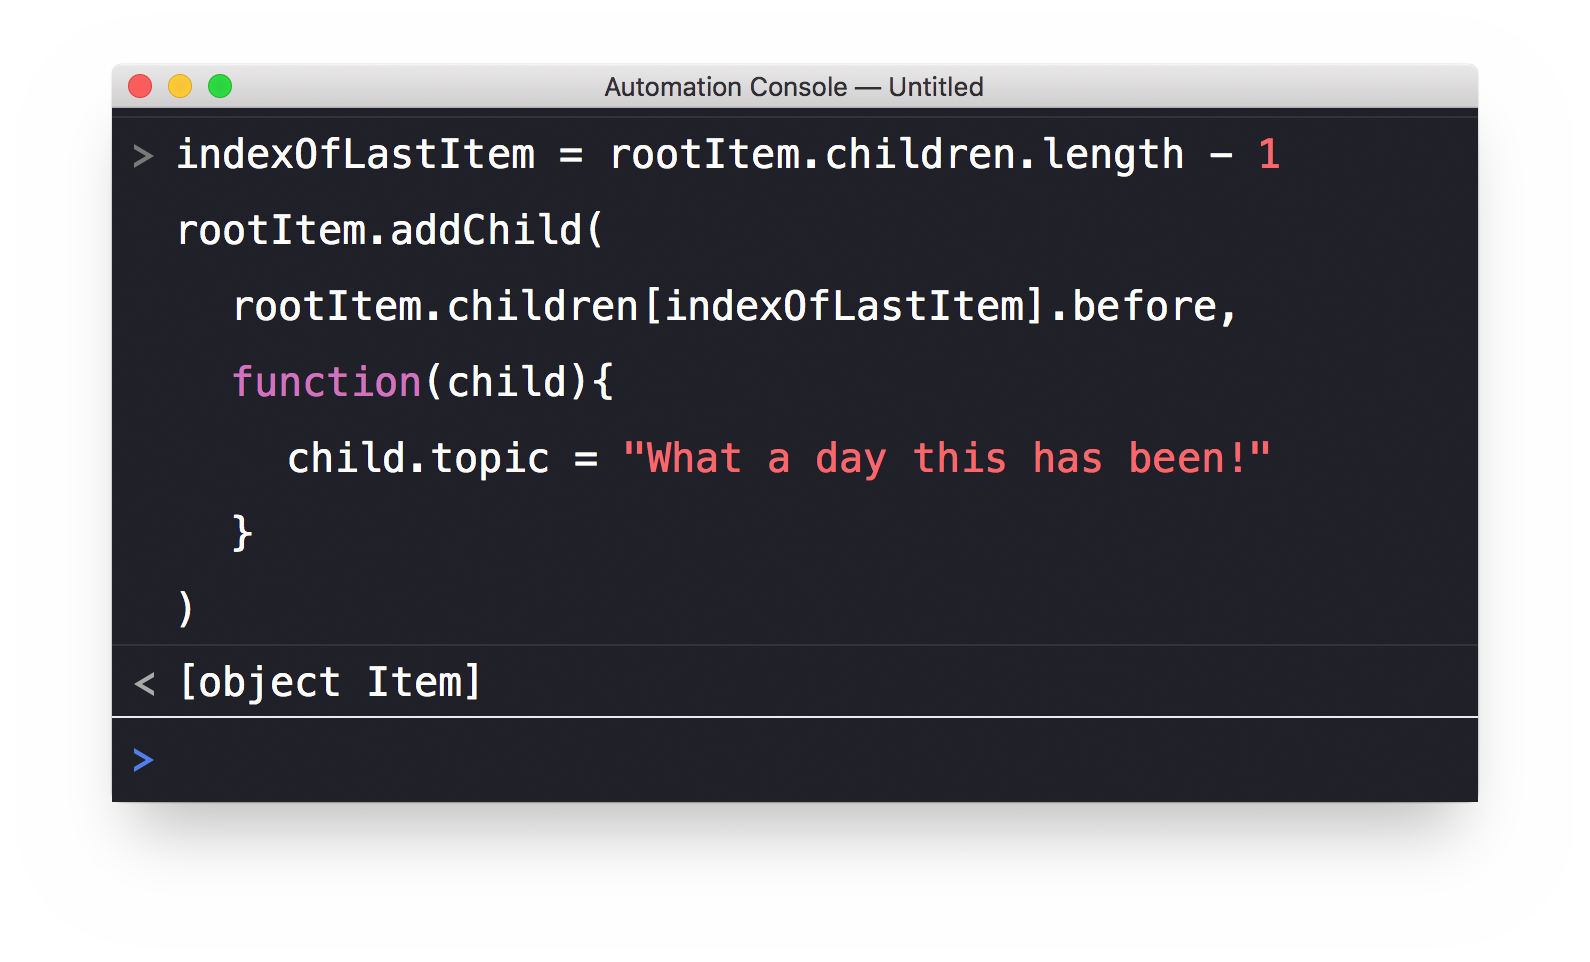
Using the last item index, we can generate a insertion position (line 3) for the first parameter of our example script:
Add Child with Topic Before the Last Item
indexOfLastItem = rootItem.children.length - 1rootItem.addChild(rootItem.children[indexOfLastItem].before,function(child){child.topic = "What a day this has been!"})
| DO THIS ► | Copy and paste the previous script example into the console and execute it by pressing the Return key. |

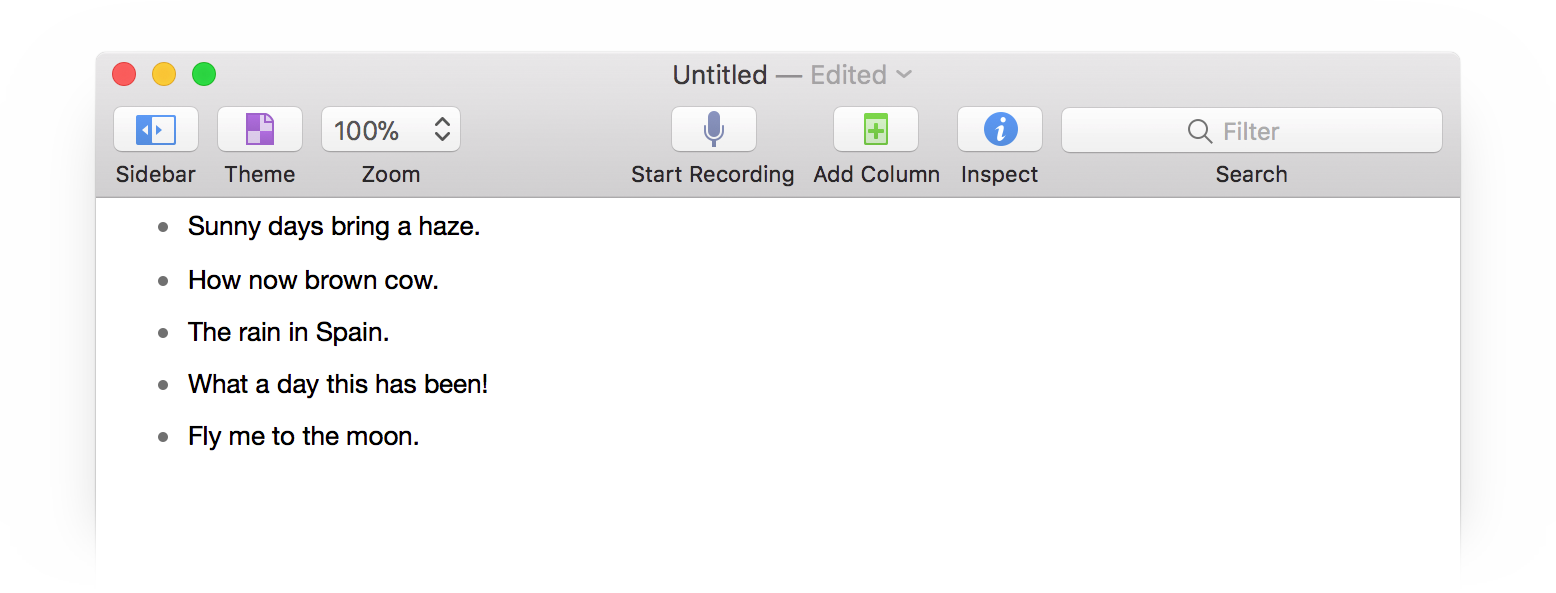
A new row will be added before the last item.

What’s Next?
In the next section (“For Each”) you’ll learn how to perform creation and editing tasks in batch for each of the children of the rootItem.