
Level Styles
Donec ullamcorper nulla non metus auctor fringilla. Nullam quis risus eget urna mollis ornare vel eu leo. Donec id elit non mi porta gravida at eget metus. Maecenas sed diam eget risus varius blandit sit amet non magna. Cum sociis natoque penatibus et magnis dis parturient montes, nascetur ridiculus mus.
The levelStyles Property
The value of the levelStyles property of the Outline class is an array of the styles used by default for Items at different nesting levels in the document. The length of this array will be the larger of the currently defined number of level styles or the maximum nesting level of Items in the Outline.
| Level Styles | ||
| 01 | document.outline.levelStyles.length | |
| DO THIS ► | Enter and run the example script in the Console window. |
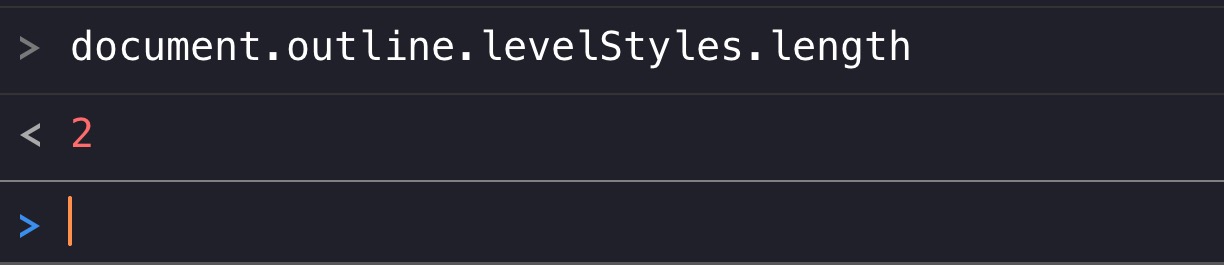
Because our outline currently has two levels of data (planets and moons), the result of the script execution will be the integer: 2
Note that since no level styles have yet been defined, the style attributes base style are in effect.
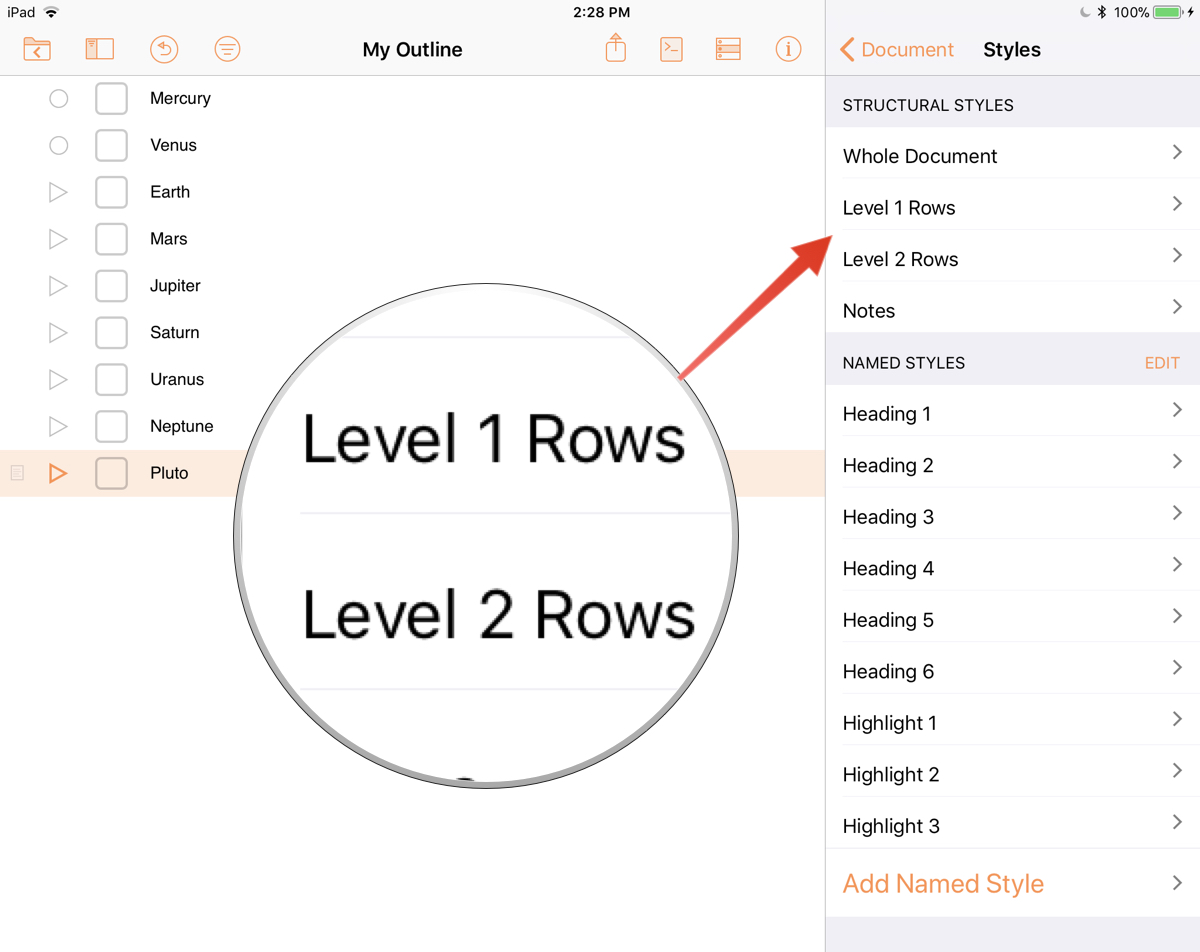
| DO THIS ► | Reveal the Inspector sidebar by pressing the Inspector button in the toolbar. Press the Document > Edit Styles tabs, and all of the document styles, including the two level styles, will be listed. |
Editing a Level Style
To edit a level style, use the levelStyle(…) method which returns a reference to the level style for the specified nesting level, possibly extending the levelStyles array.
Let’s use this method to change some of the style attributes of the top-level level style. Note that since JavaScript indexes arrays beginning with zero (0), the first level style will be: levelStyle(0)
| Edit 1st Level Style | ||
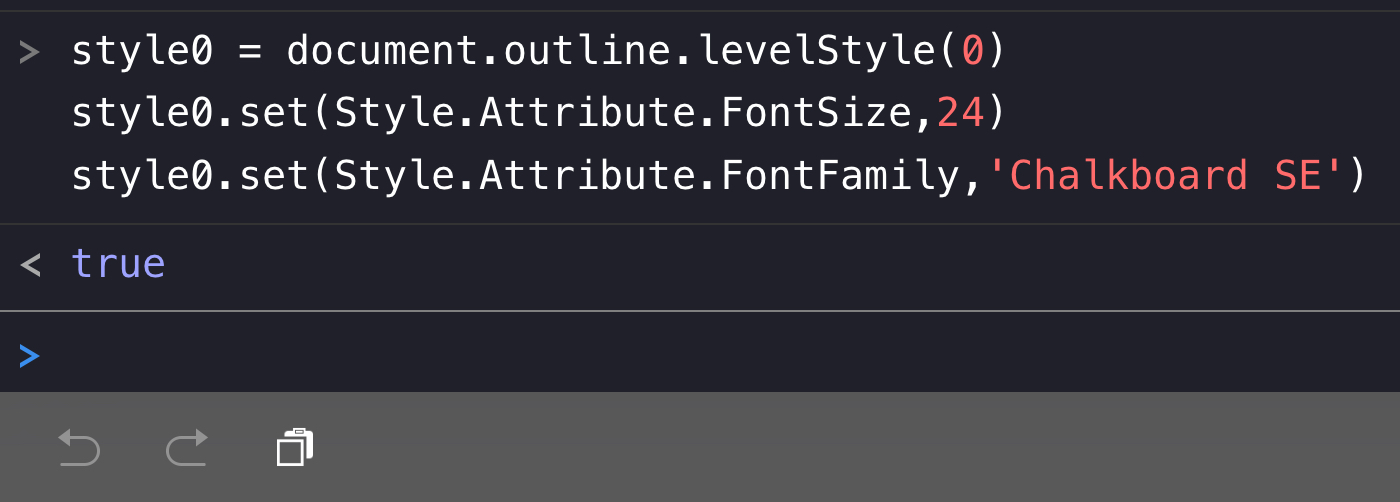
| 01 | style0 = document.outline.levelStyle(0) | |
| 02 | style0.set(Style.Attribute.FontSize, 24) | |
| 03 | style0.set(Style.Attribute.FontFamily, 'Chalkboard SE') | |
| DO THIS ► | Enter and run the example script in the Console window. |
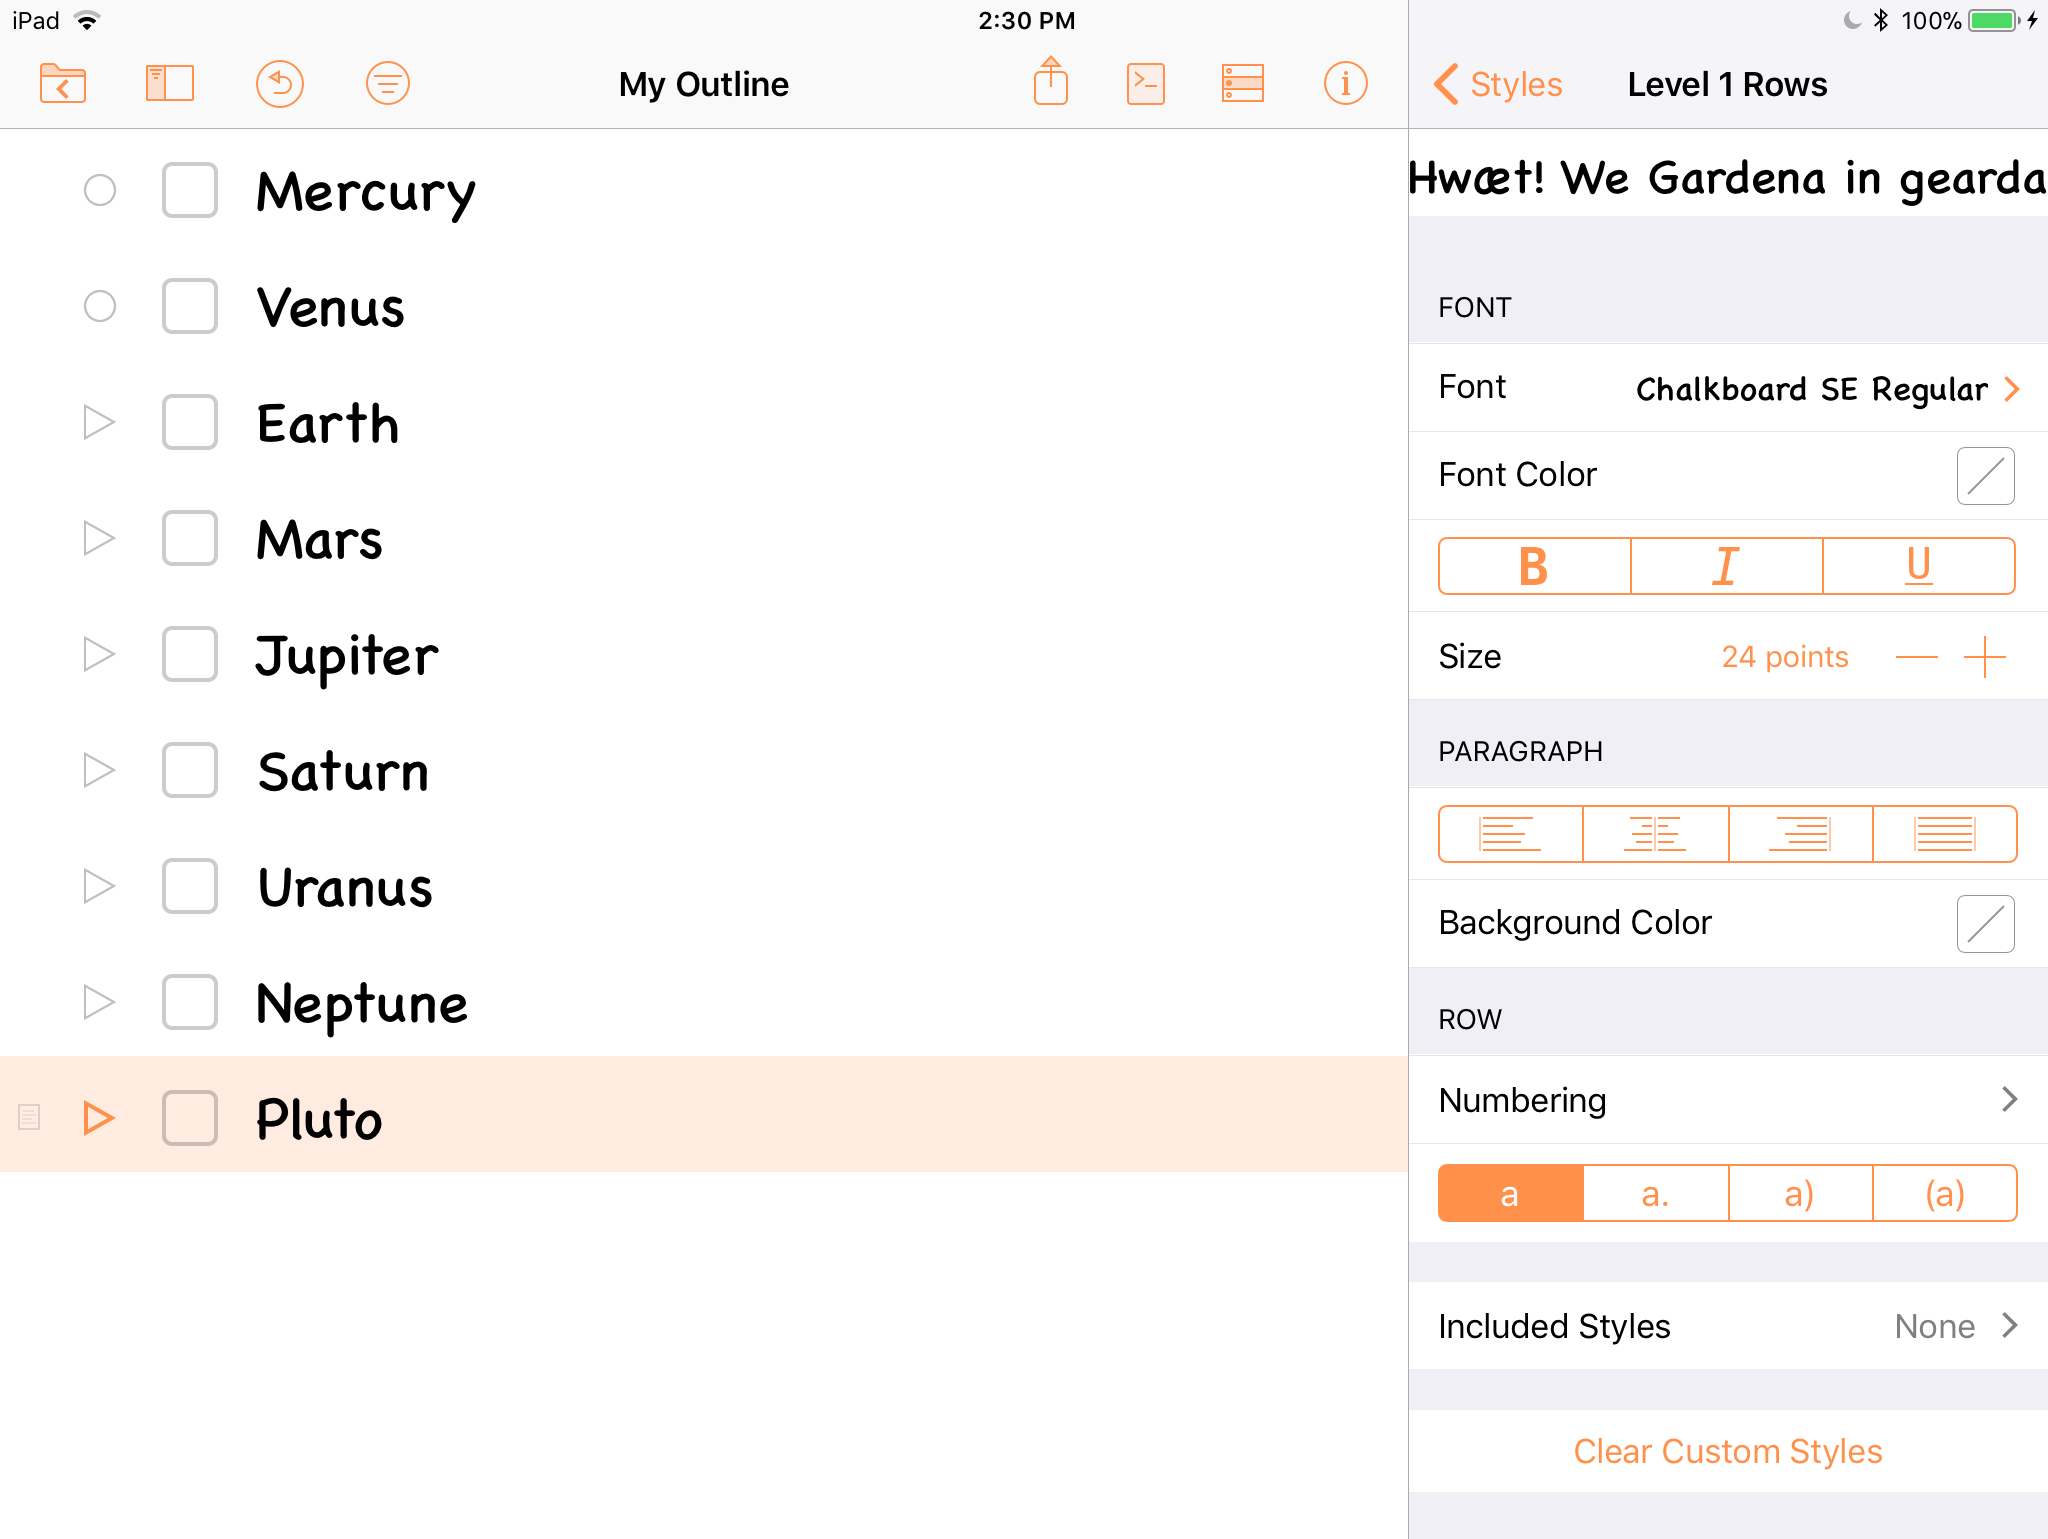
The indicated styling will be applied to the top-level rows. Reveal the sidebar and inspector panels, and select the Level 1 style to see the applied results:
As we just did, let’s use the levelStyle() method to change some of the style attributes of the second-level level style. Note that since JavaScript indexes arrays beginning with zero (0), the second level style will be: levelStyle(1)
| Edit 2nd Level Style | ||
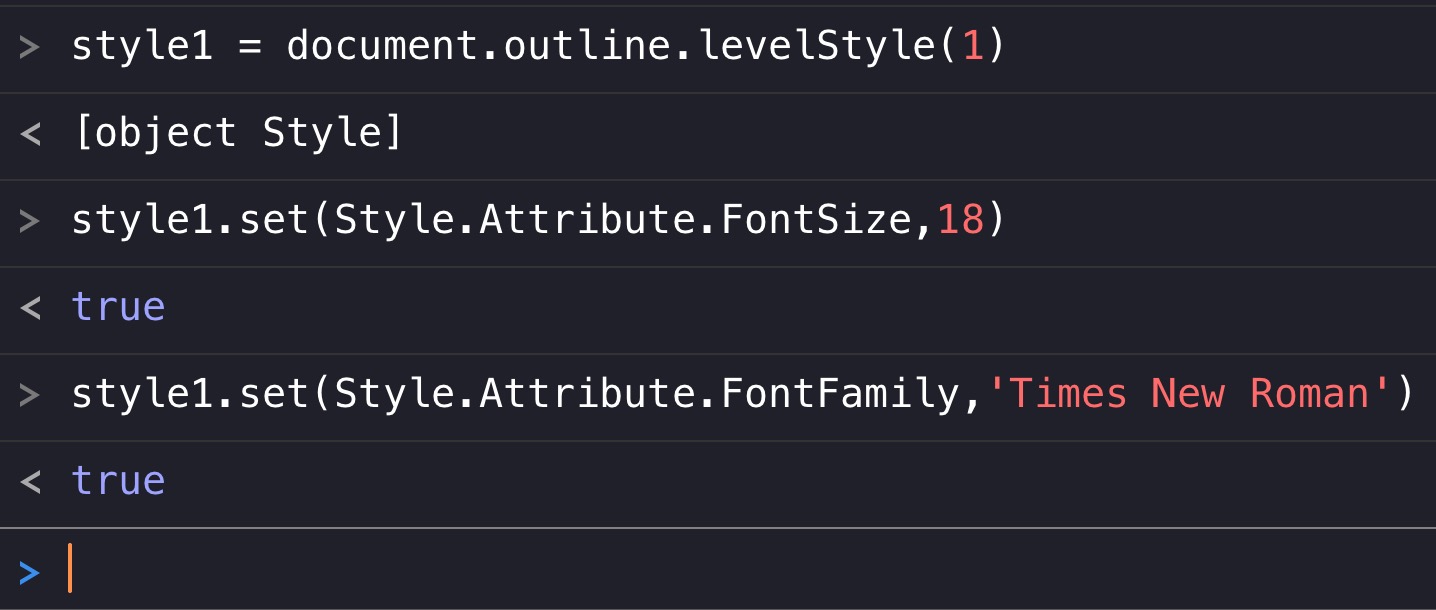
| 01 | style1 = document.outline.levelStyle(1) | |
| 02 | style1.set(Style.Attribute.FontSize, 18) | |
| 03 | style1.set(Style.Attribute.FontFamily, 'Times New Roman') | |
| DO THIS ► | Enter and run the example script in the Console window. |
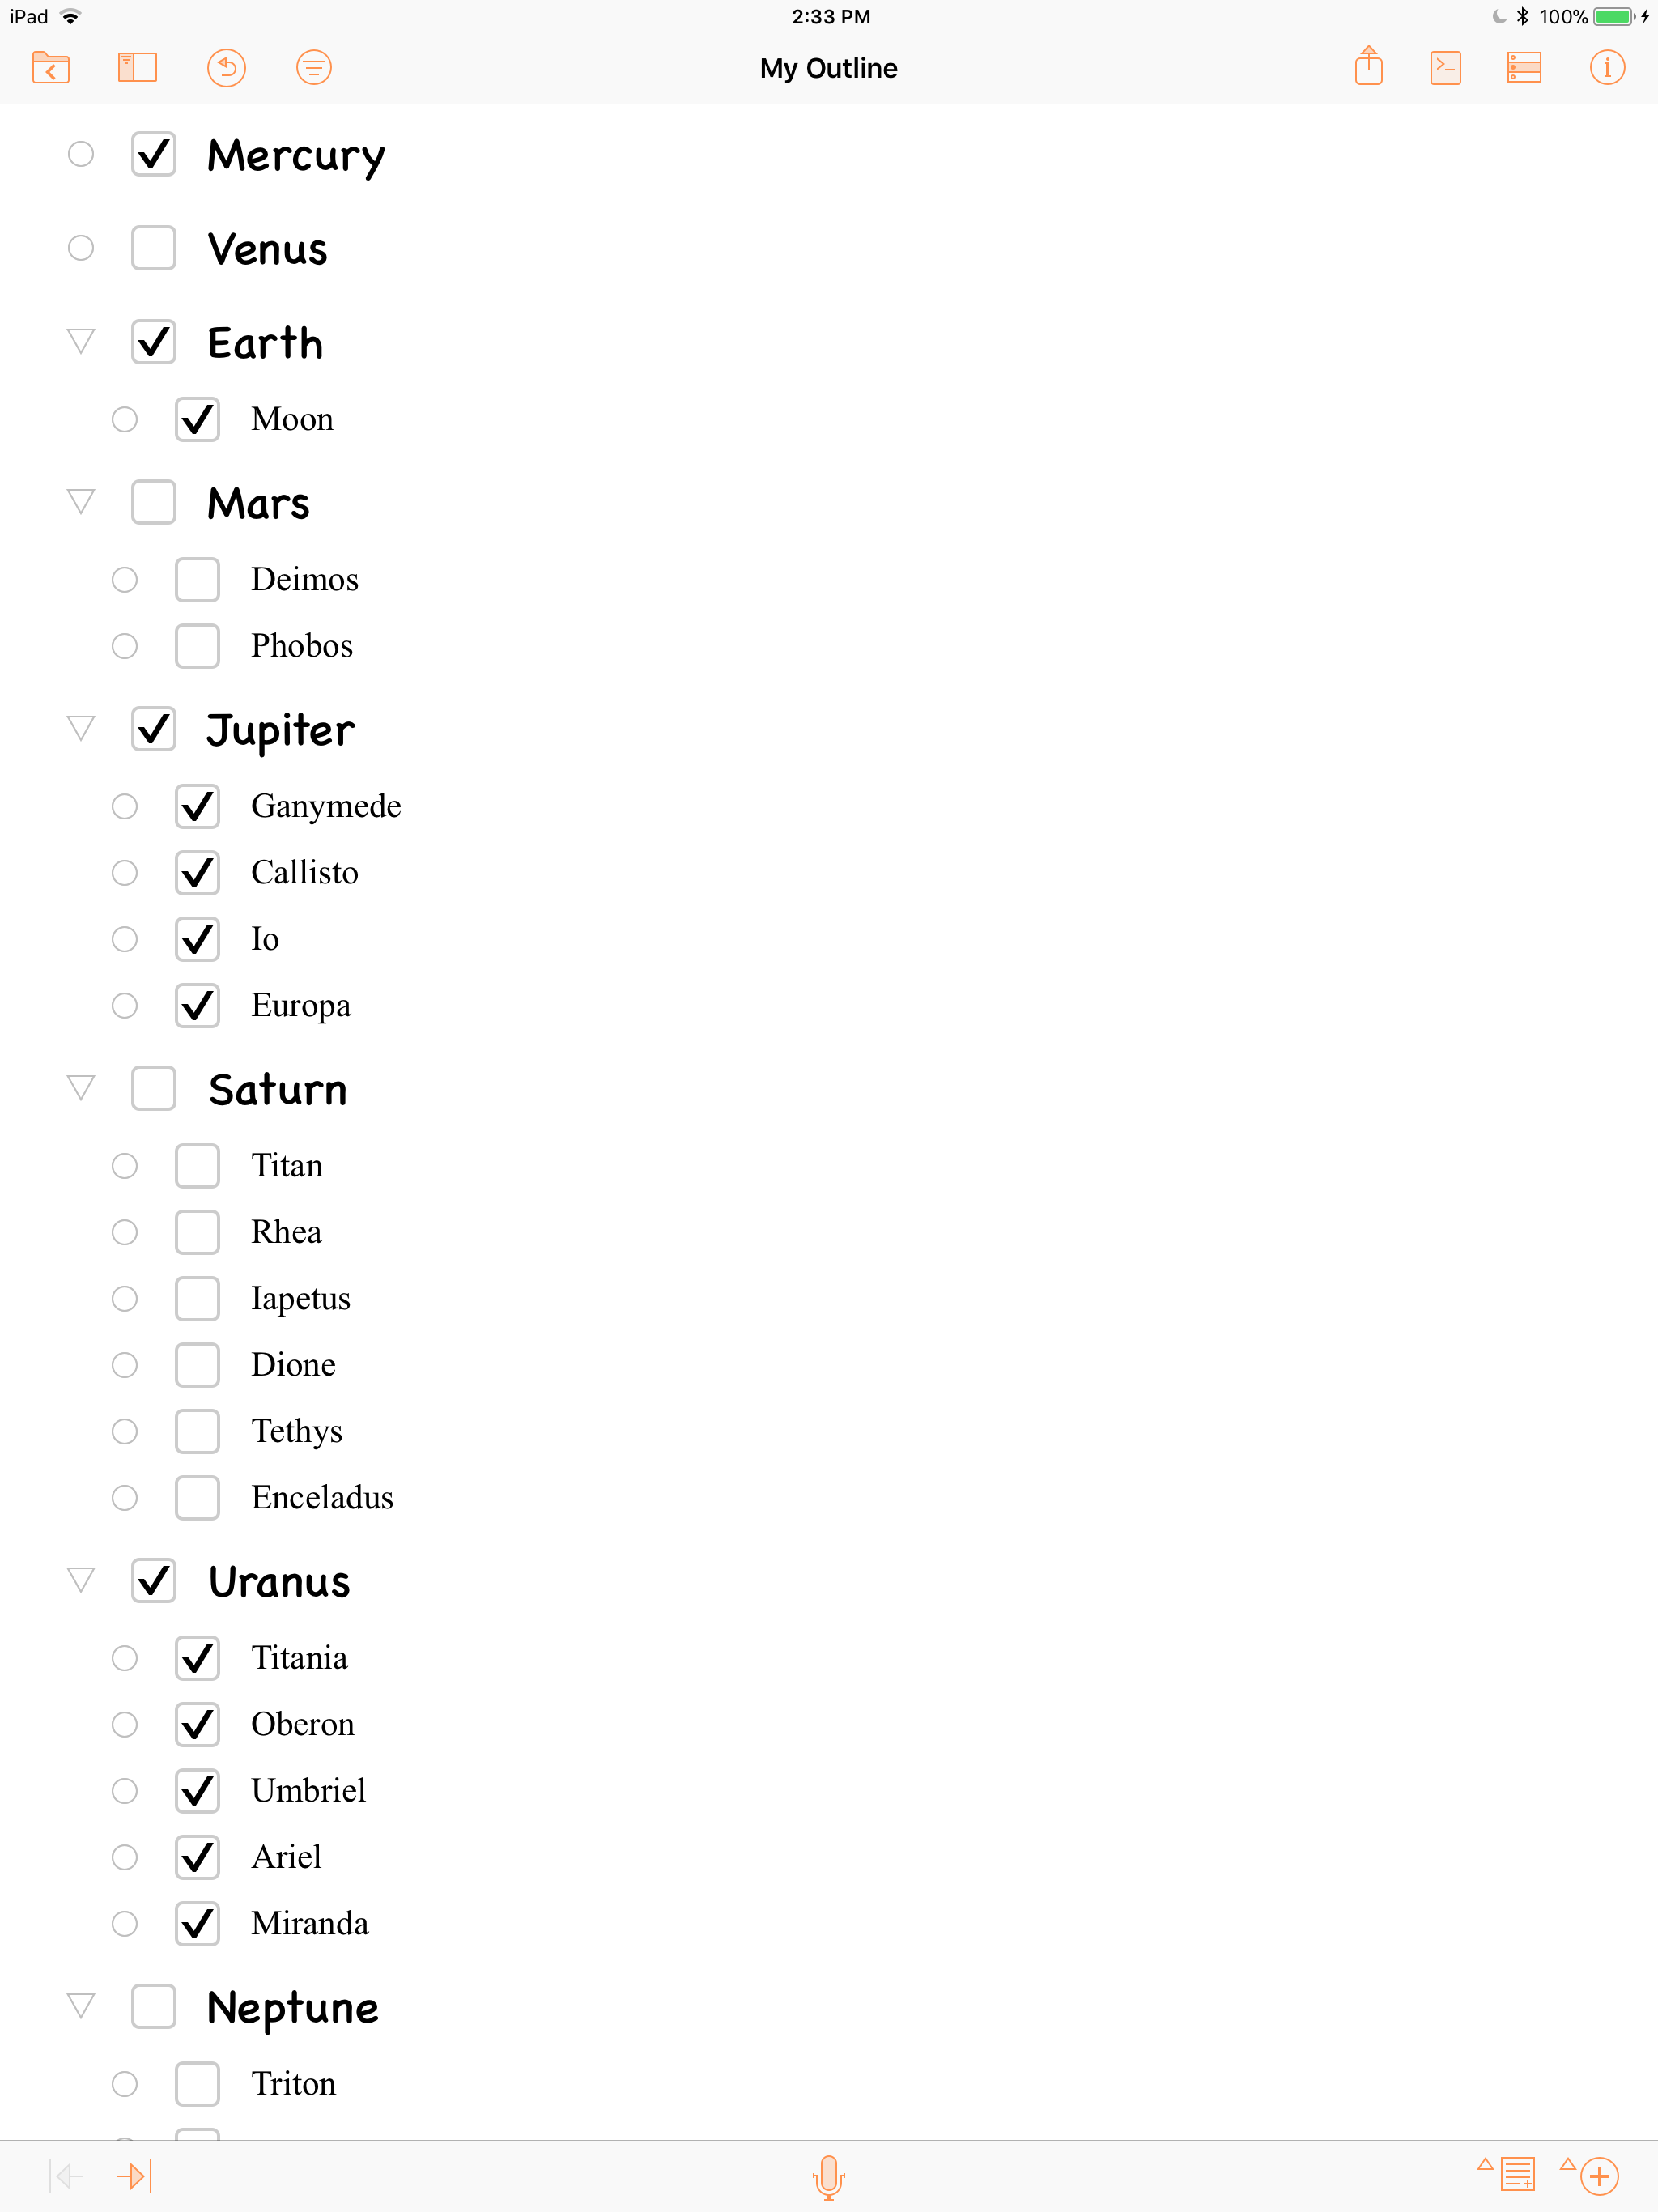
The indicated styling will be applied to the second-level rows.
Expand and Focus
Let’s optimize the display of the outline to fully show the items we specify.
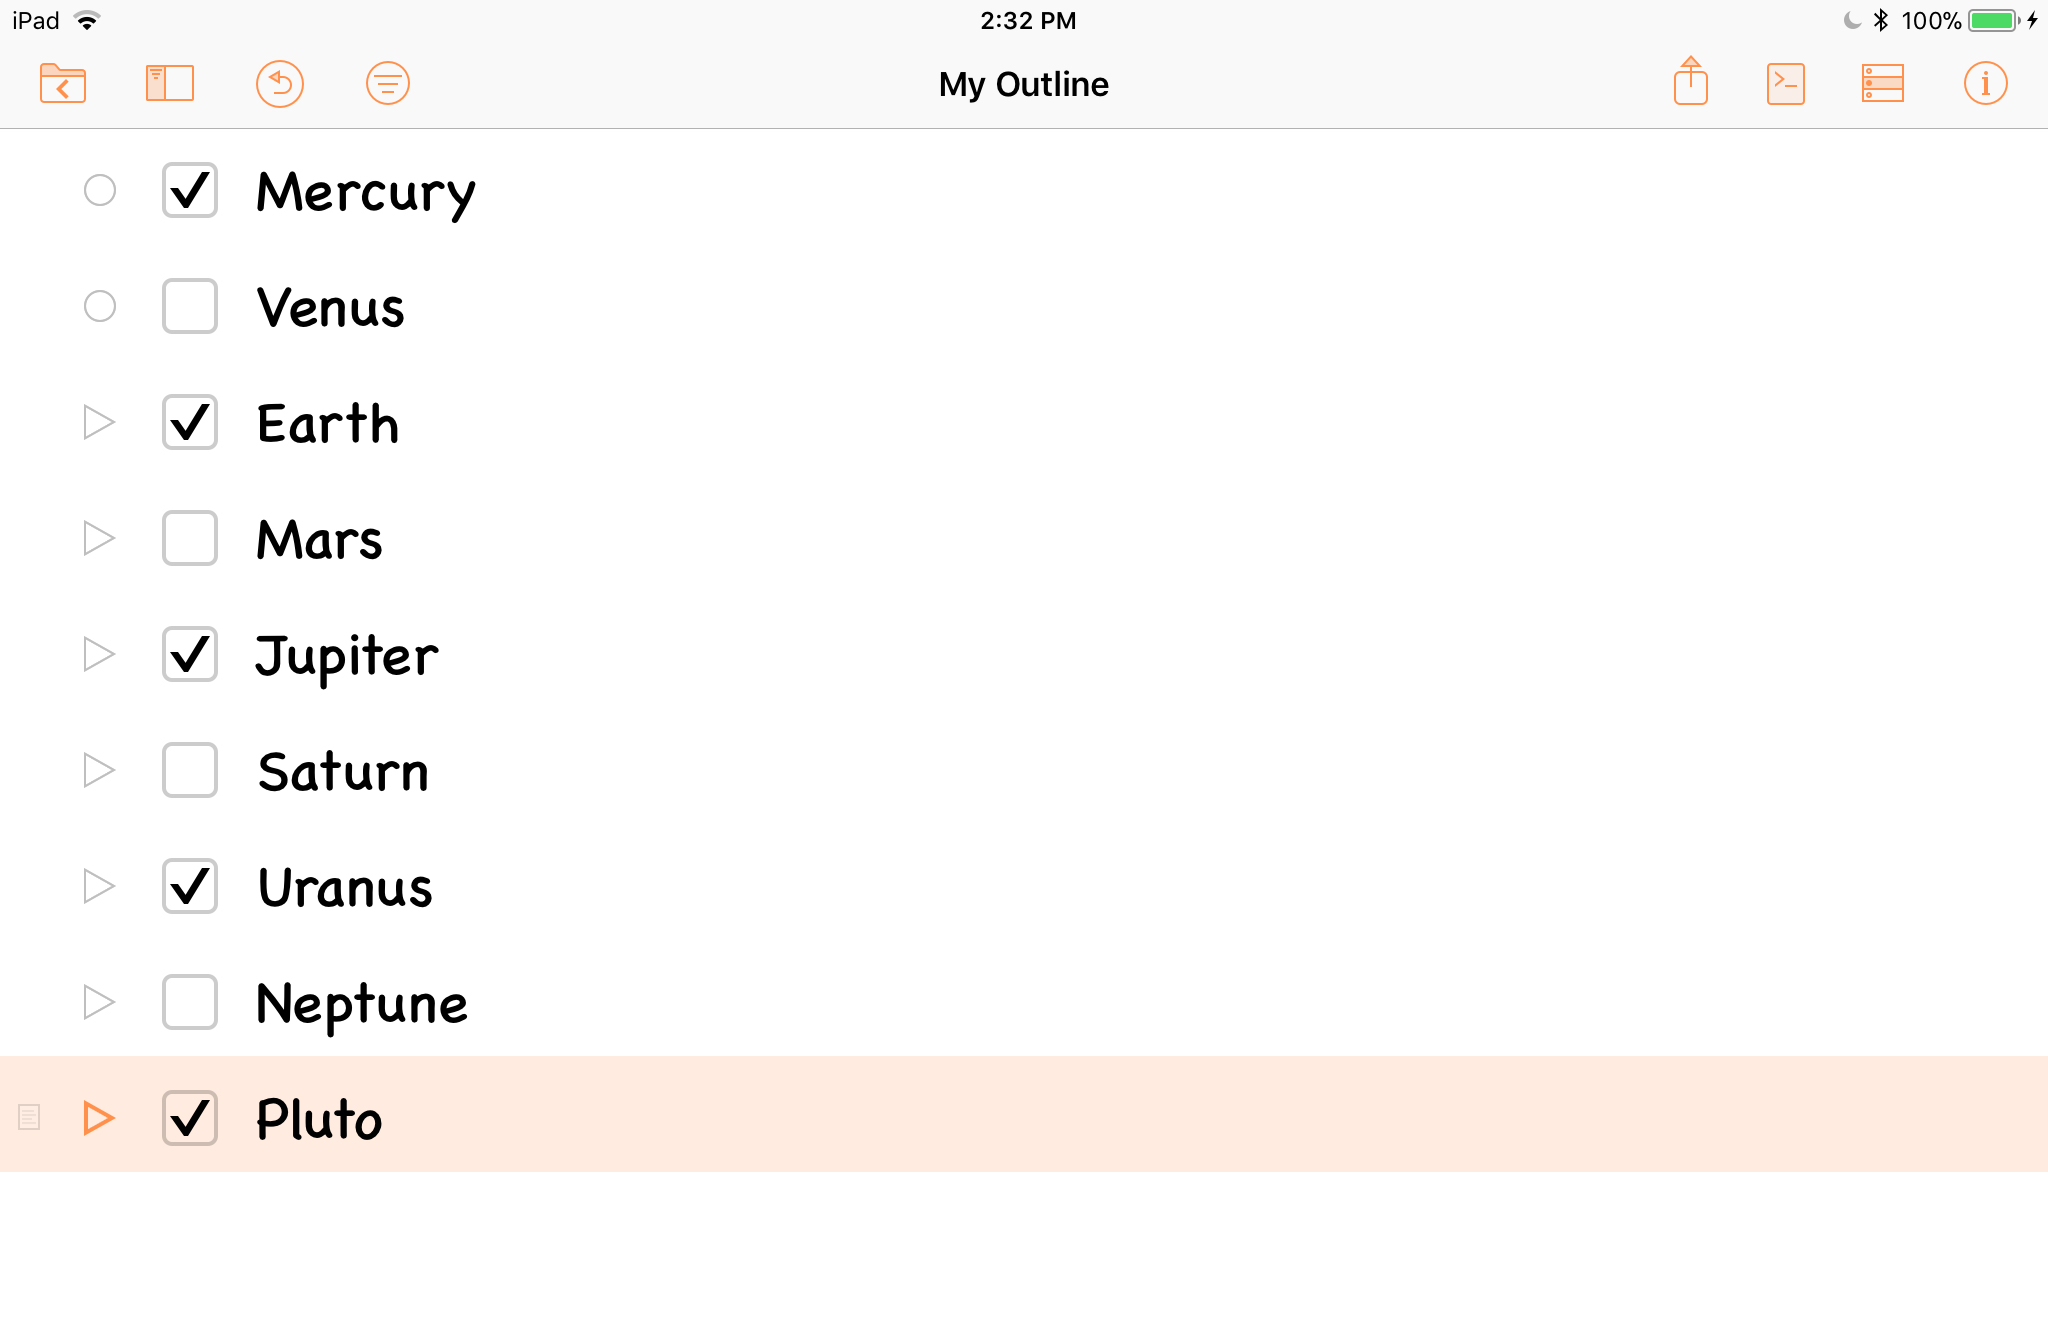
| DO THIS ► | Starting with Mercury, check every other planet in the outline. |
| DO THIS ► | Execute the following script to expand all rows. |
| Expand Outline | ||
| 01 | nodes = document.editors[0].rootNode.children | |
| 02 | nodes.forEach(function(node){ | |
| 03 | if(node.canExpand){node.expand(true)} | |
| 04 | }) | |
| DO THIS ► | To consolidate item display, execute the following script to focus only the checked rows. |
| Focus Checked Items | ||
| 01 | editor = document.editors[0] | |
| 02 | checkColumn = document.outline.statusColumn | |
| 03 | checkedItems = new Array() | |
| 04 | editor.rootNode.children.forEach( | |
| 05 | function(node){ | |
| 06 | state = node.valueForColumn(checkColumn) | |
| 07 | if (state === State.Checked){ | |
| 08 | checkedItems.push(node.object) | |
| 09 | } | |
| 10 | } | |
| 11 | ) | |
| 12 | editor.focusedItems = checkedItems | |
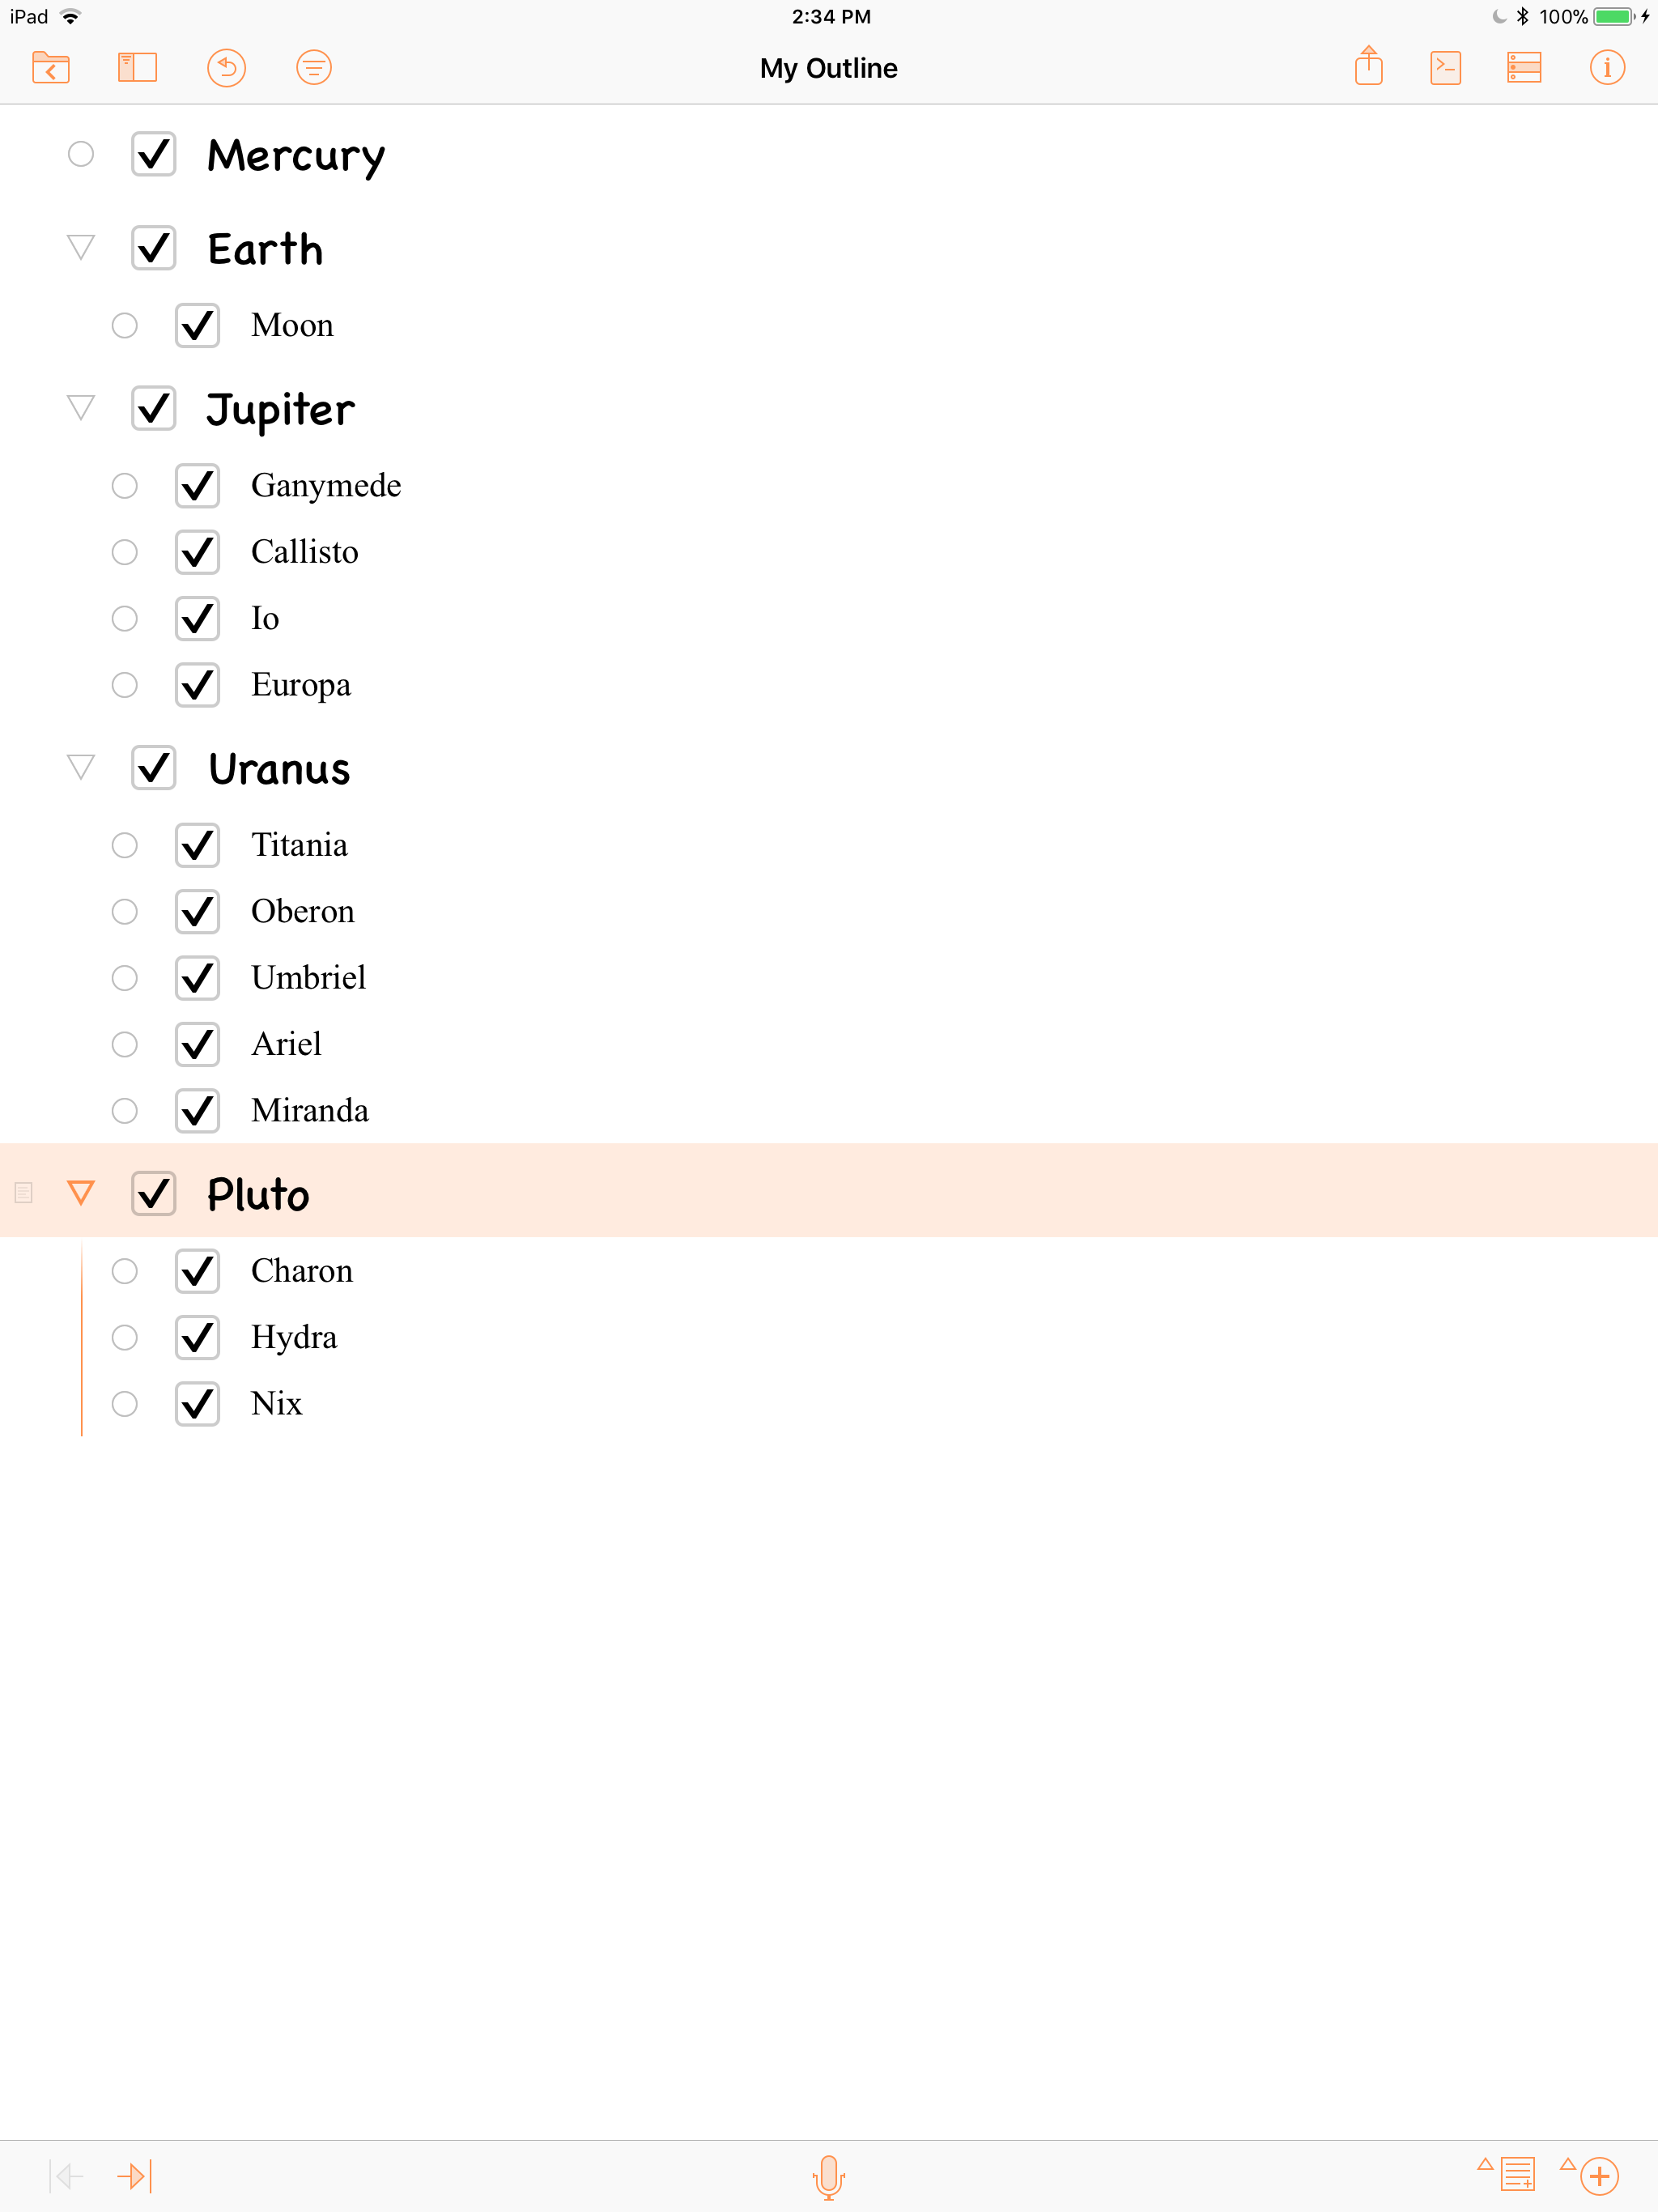
The result is a focused list of the checked items, with specific styling applied to both the top and secondary levels:
What’s Next?
In the next section we’ll review what you’ve learned in this tutorial.
This webpage is in the process of being developed. Any content may change and may not be accurate or complete at this time.
DISCLAIMER